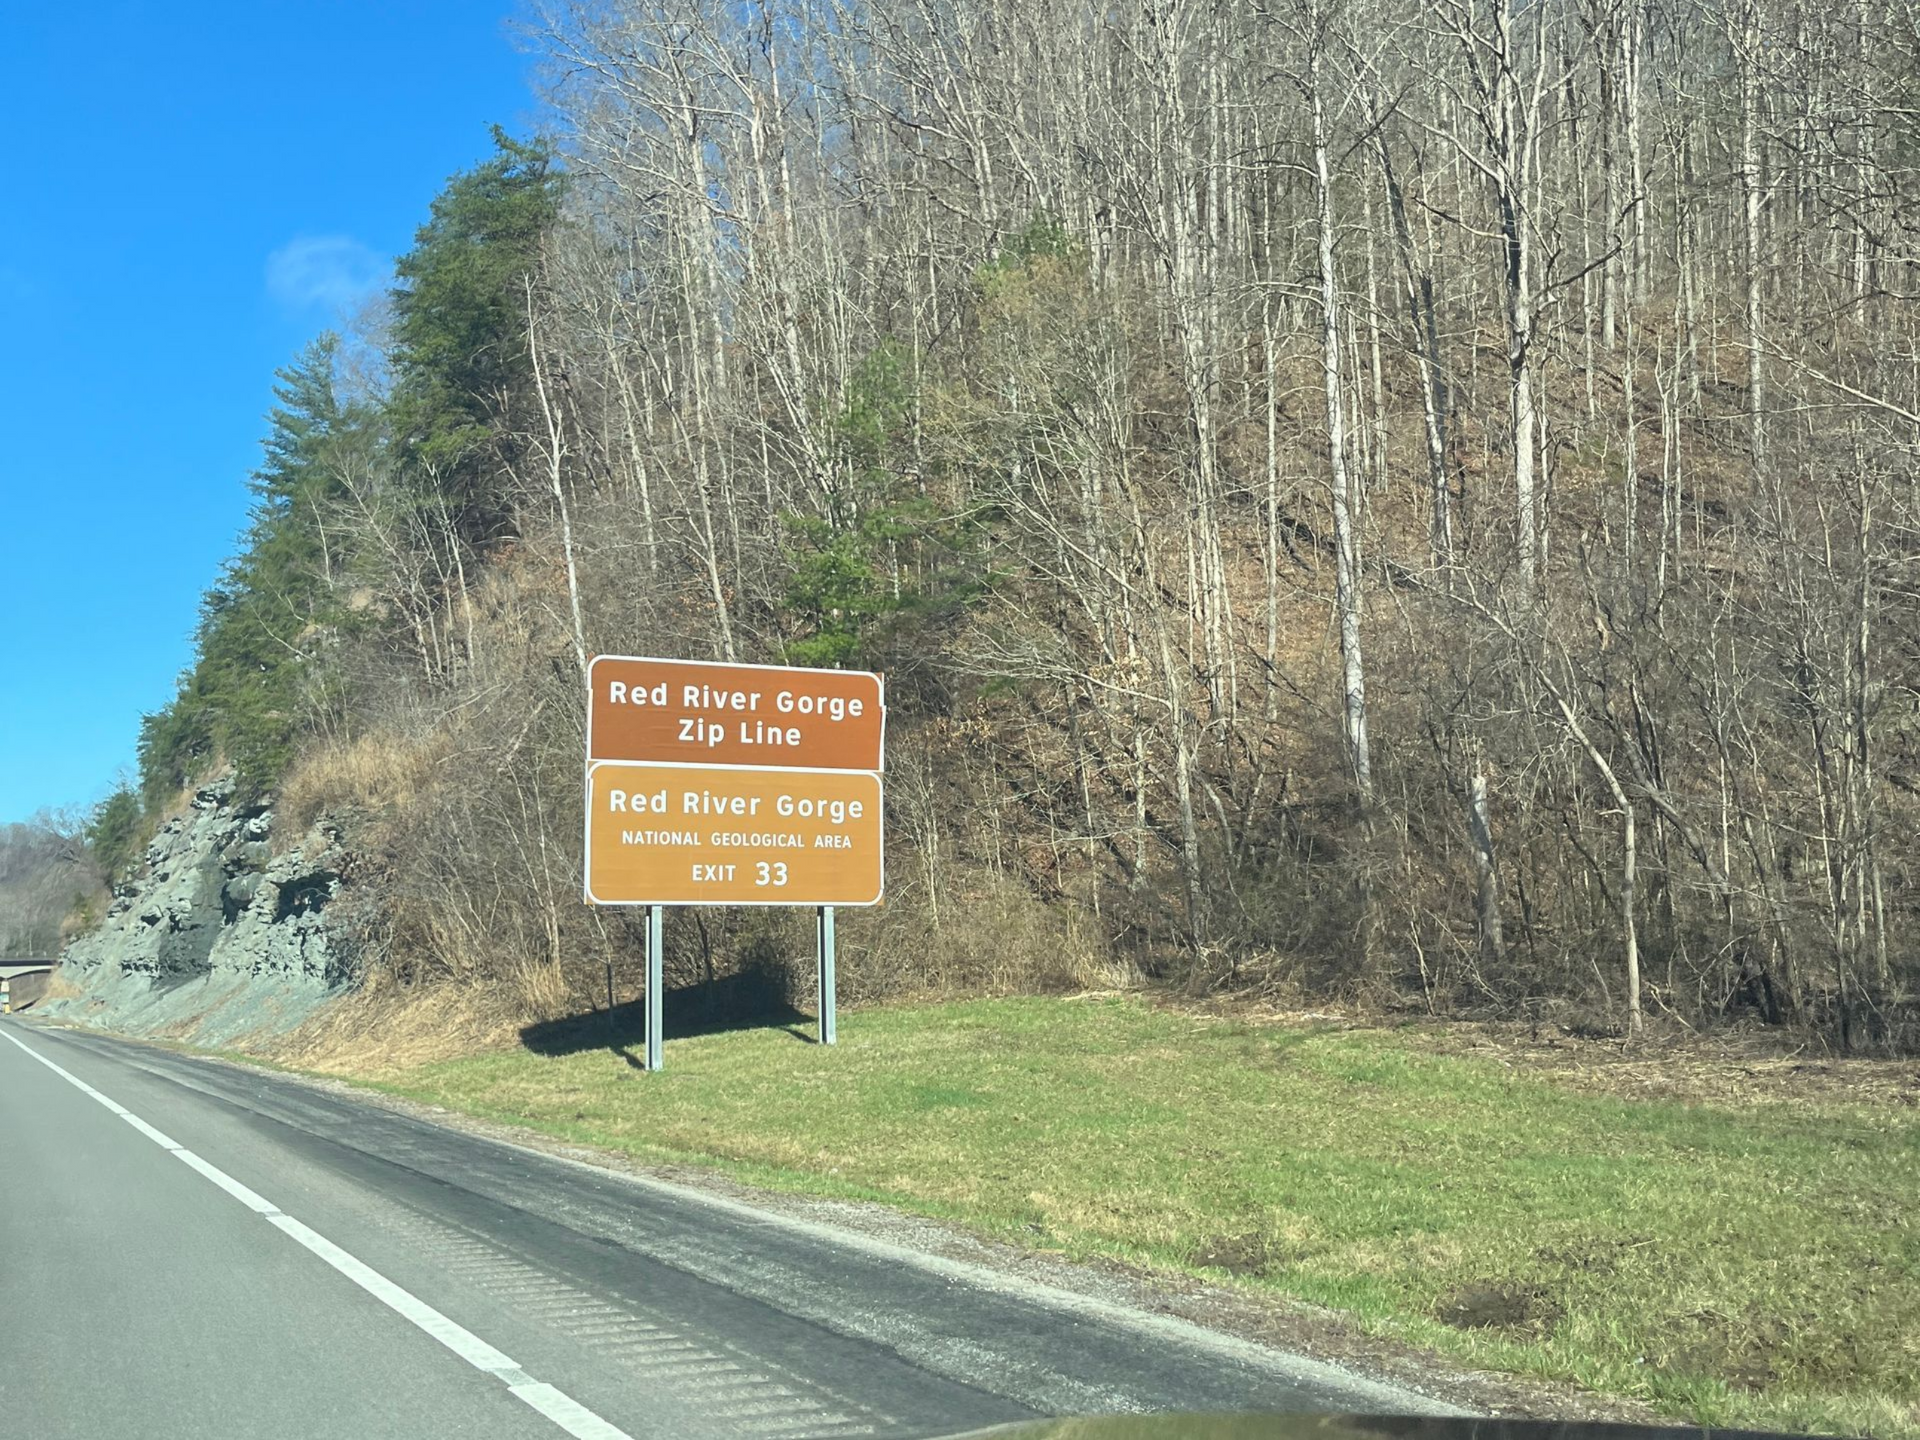
How Hard Are the Most Advanced Sections of the Red River Gorge Via Ferrata?
So, you’ve heard that the
Southeast Mountain Guides Via Ferrata is tough—but how hard is it, really? We've already covered
general preparation for the via ferrata, but here we're breaking down the advanced and expert sections of the course to help you plan, prepare, and maybe even conquer them.

Entire Course Overview
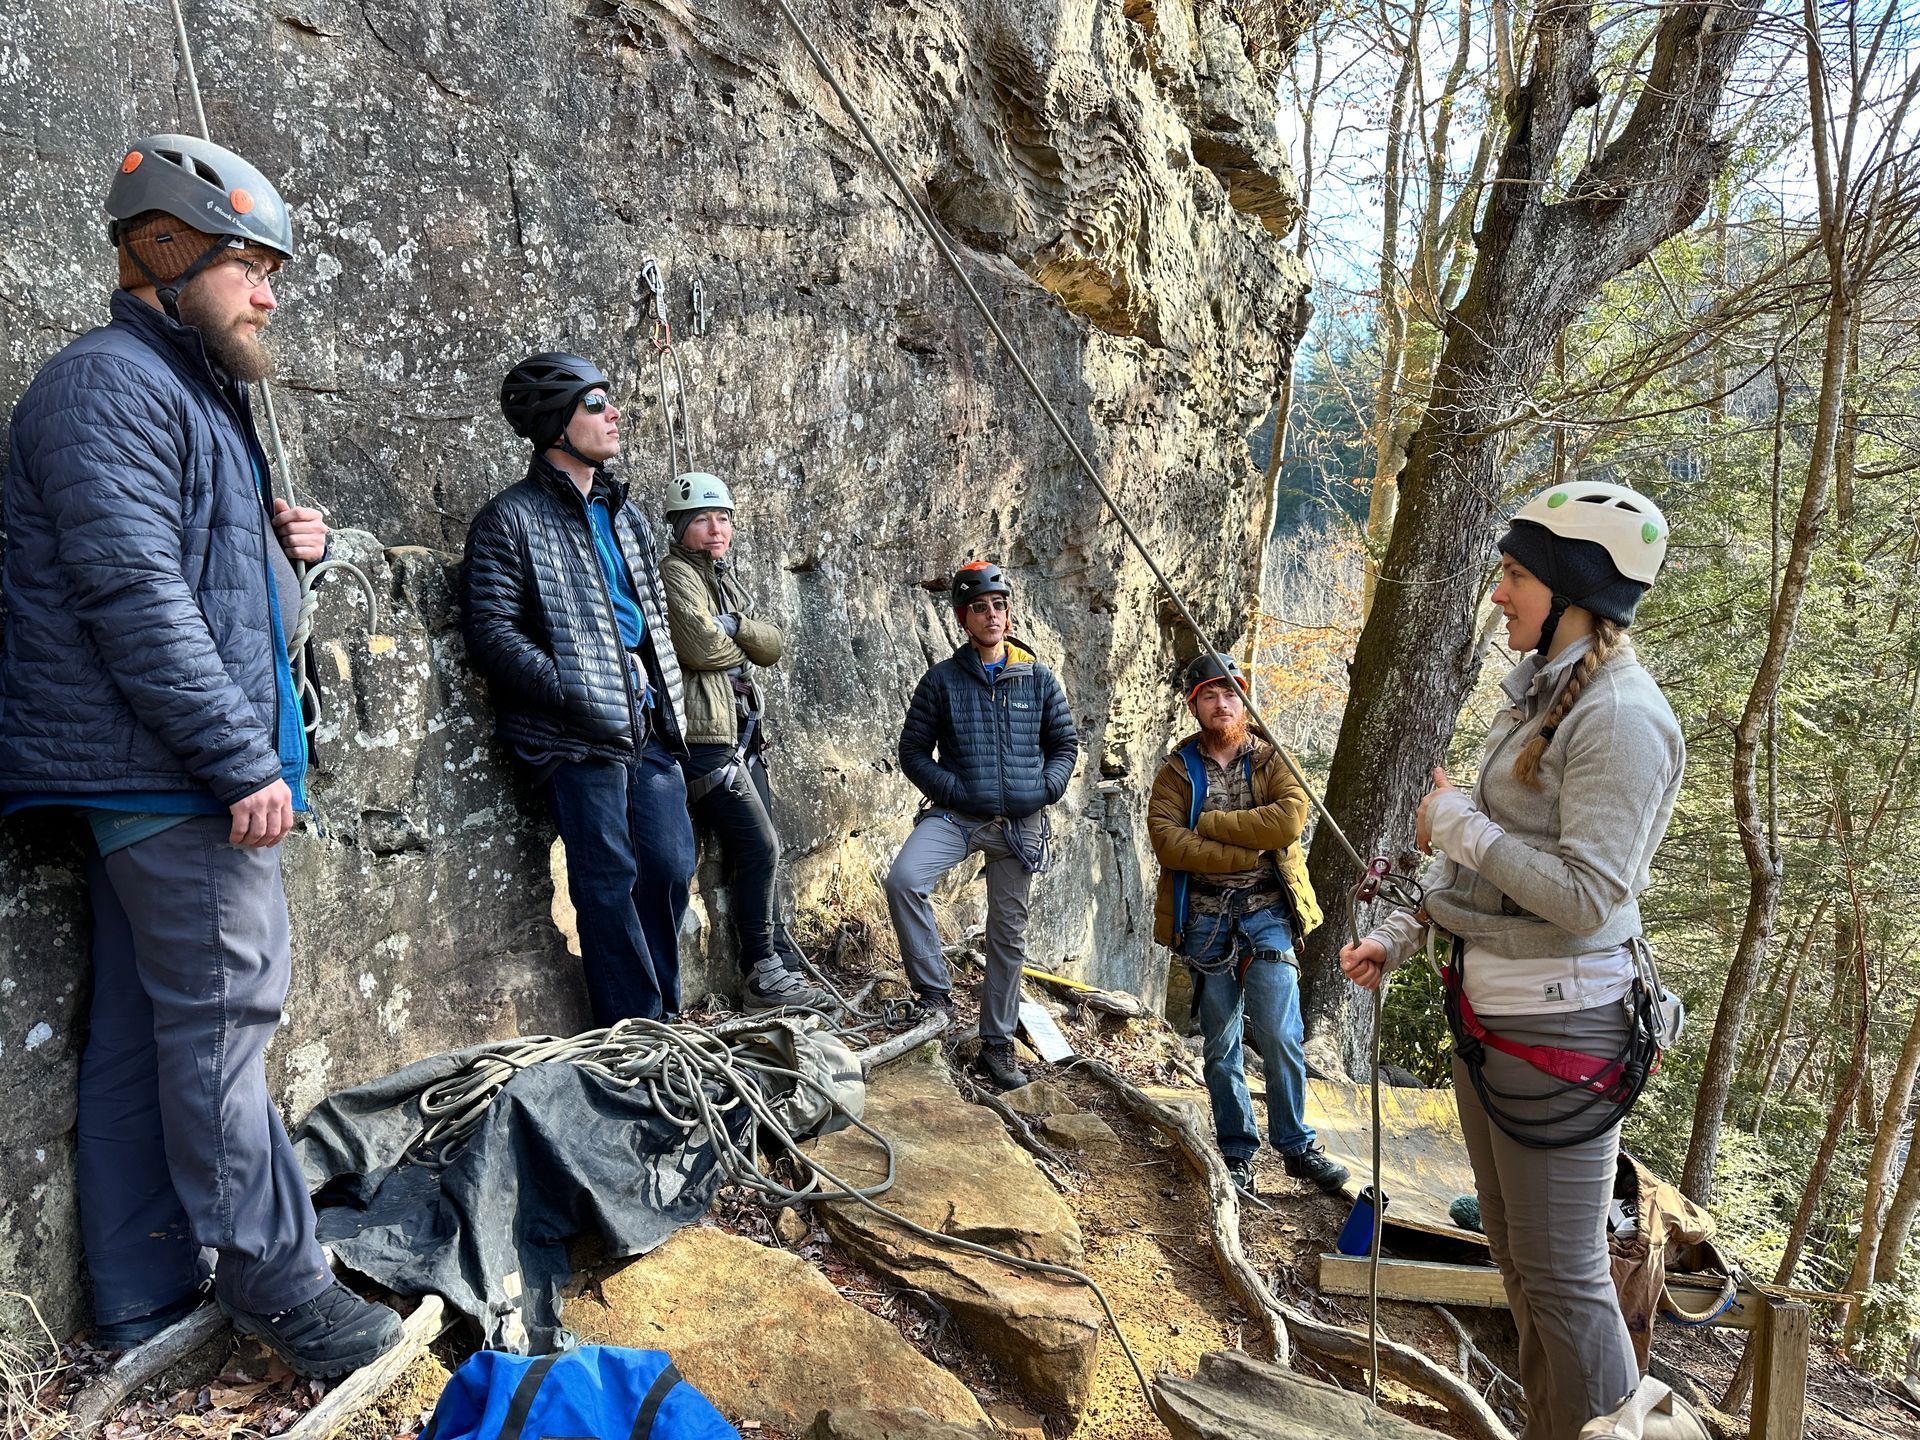
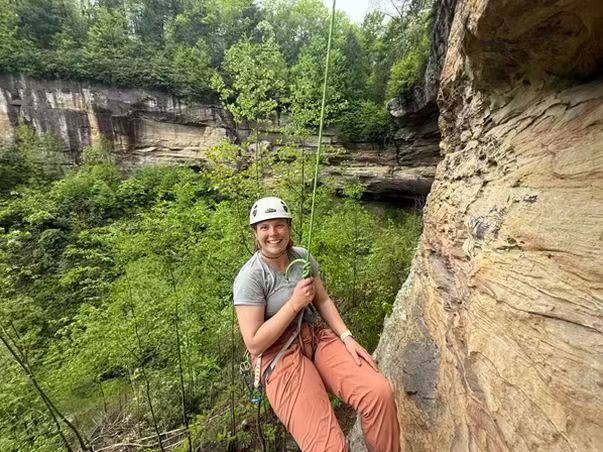
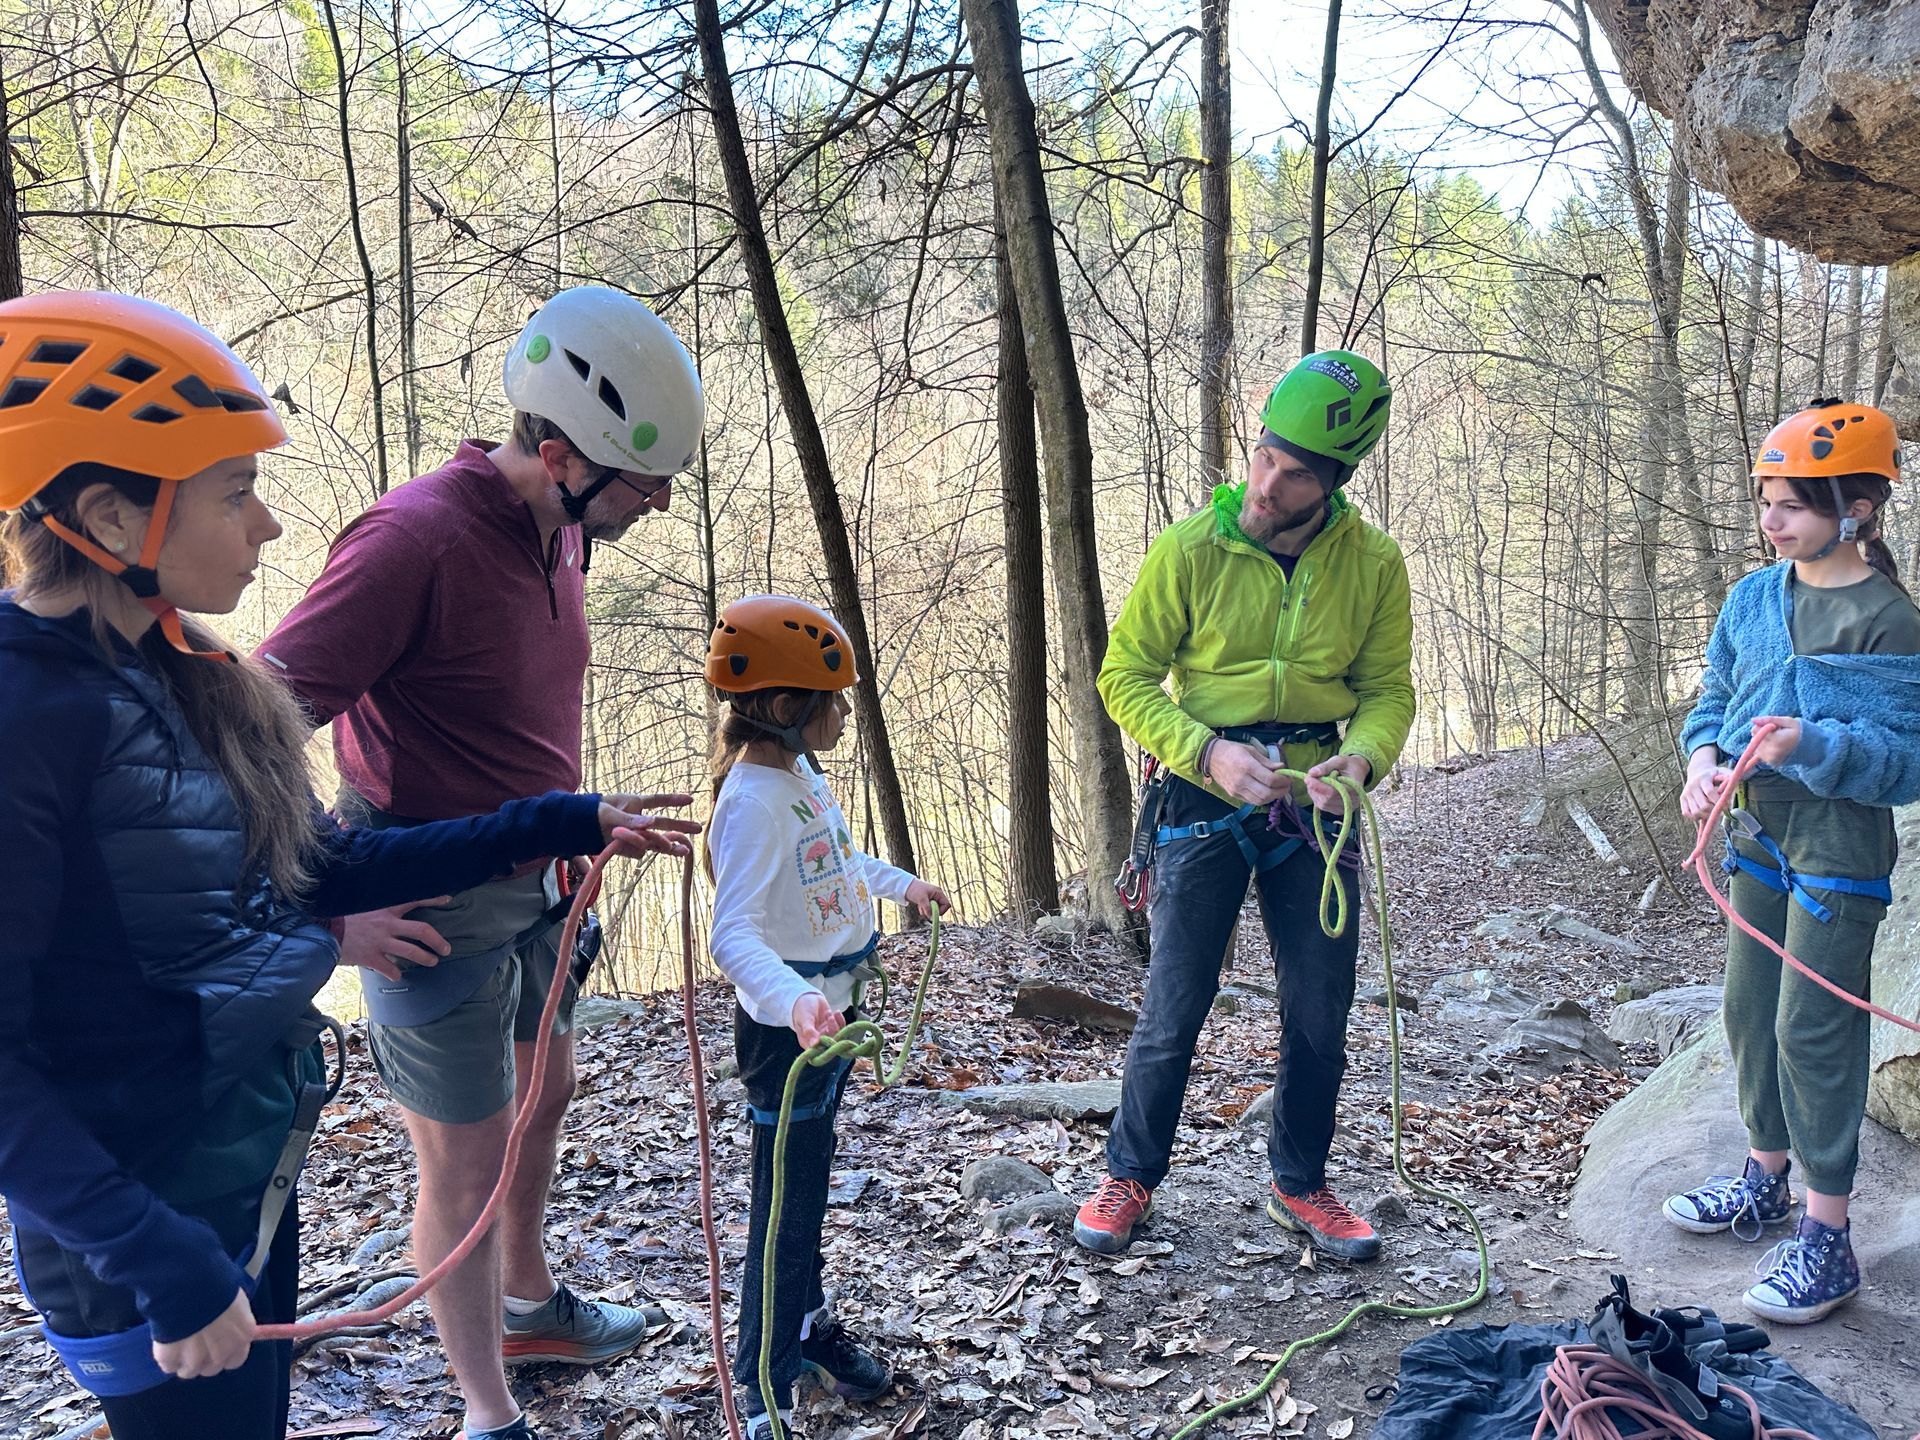
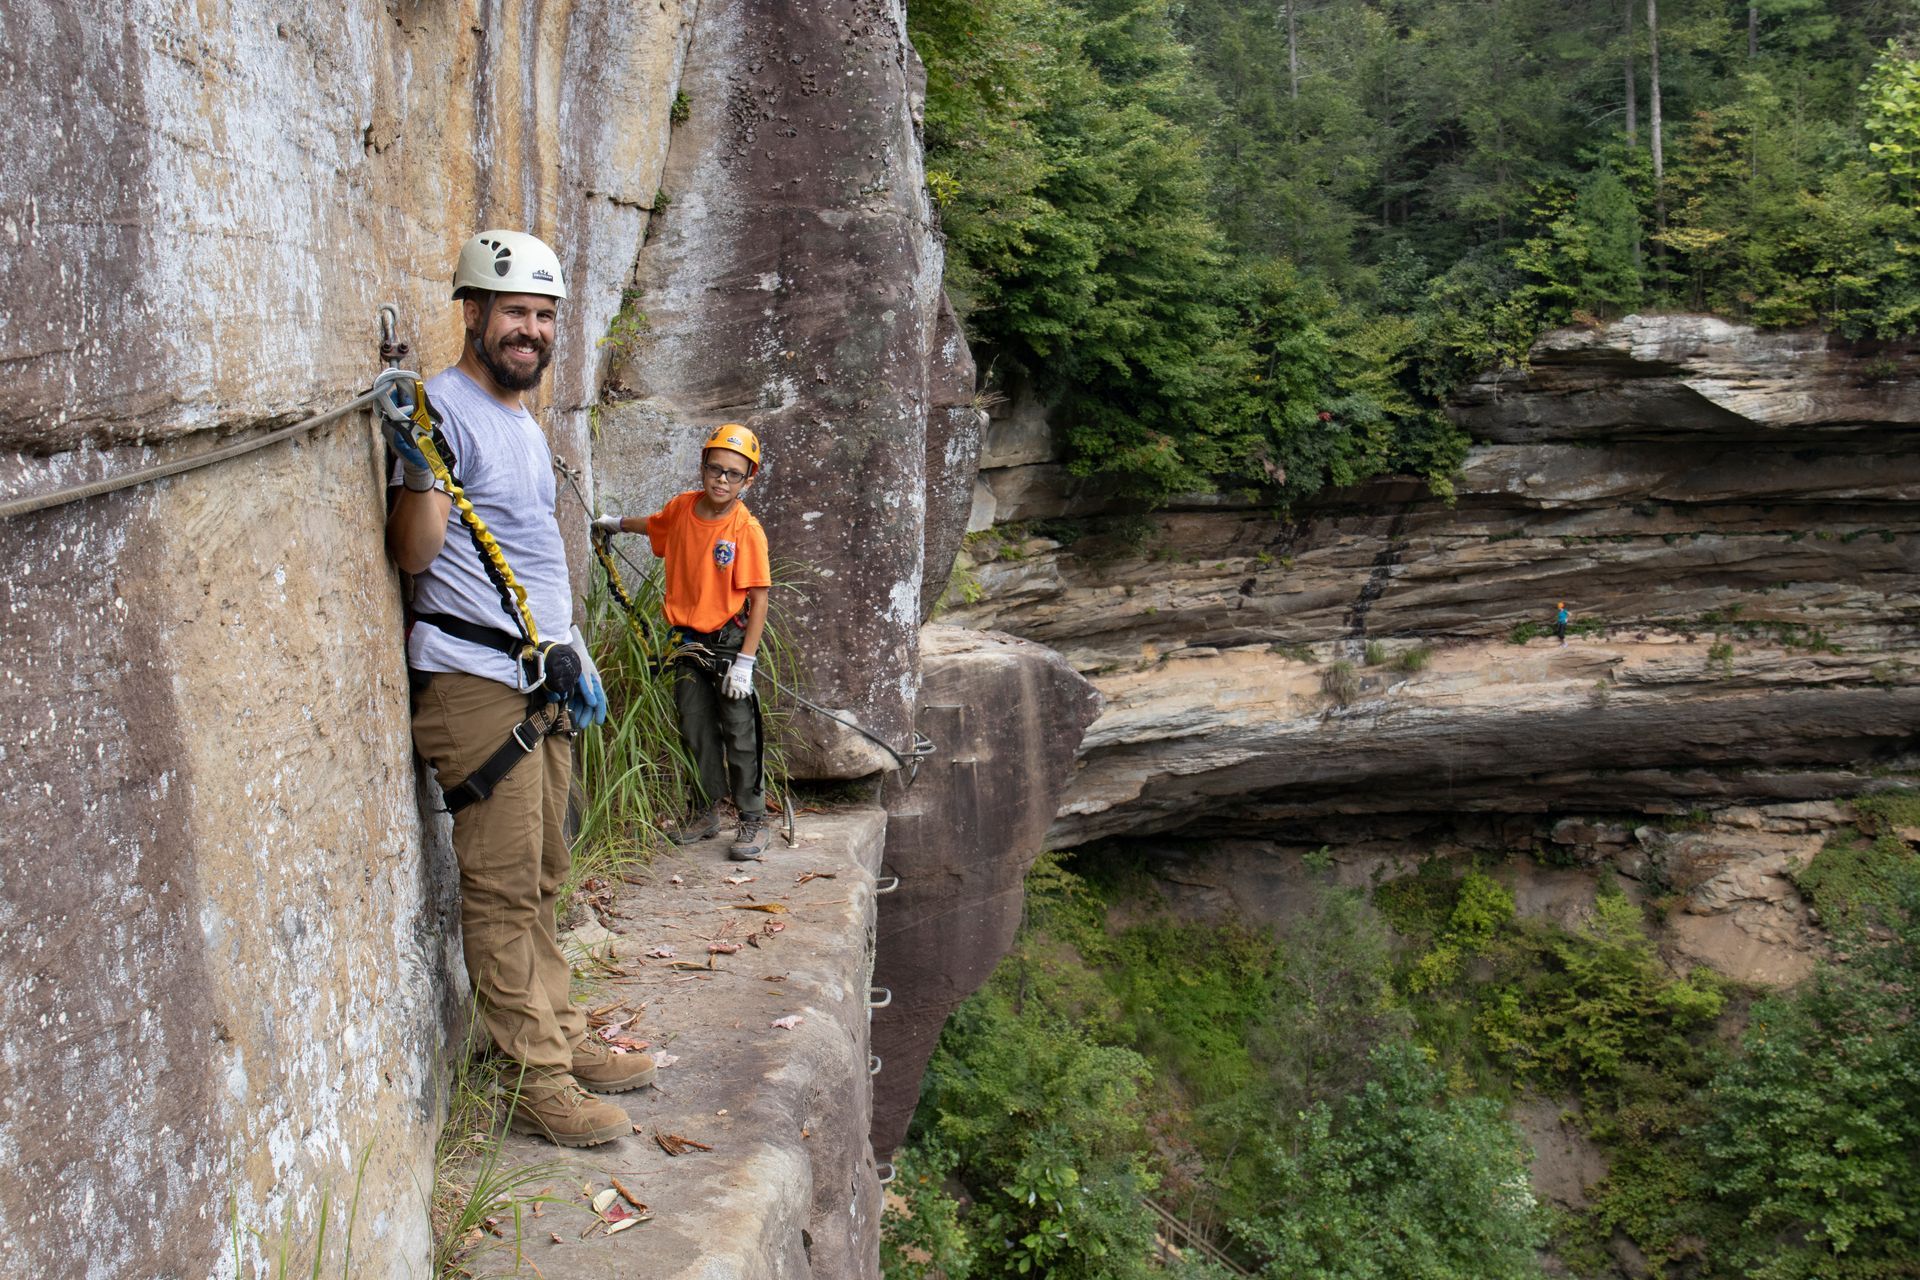
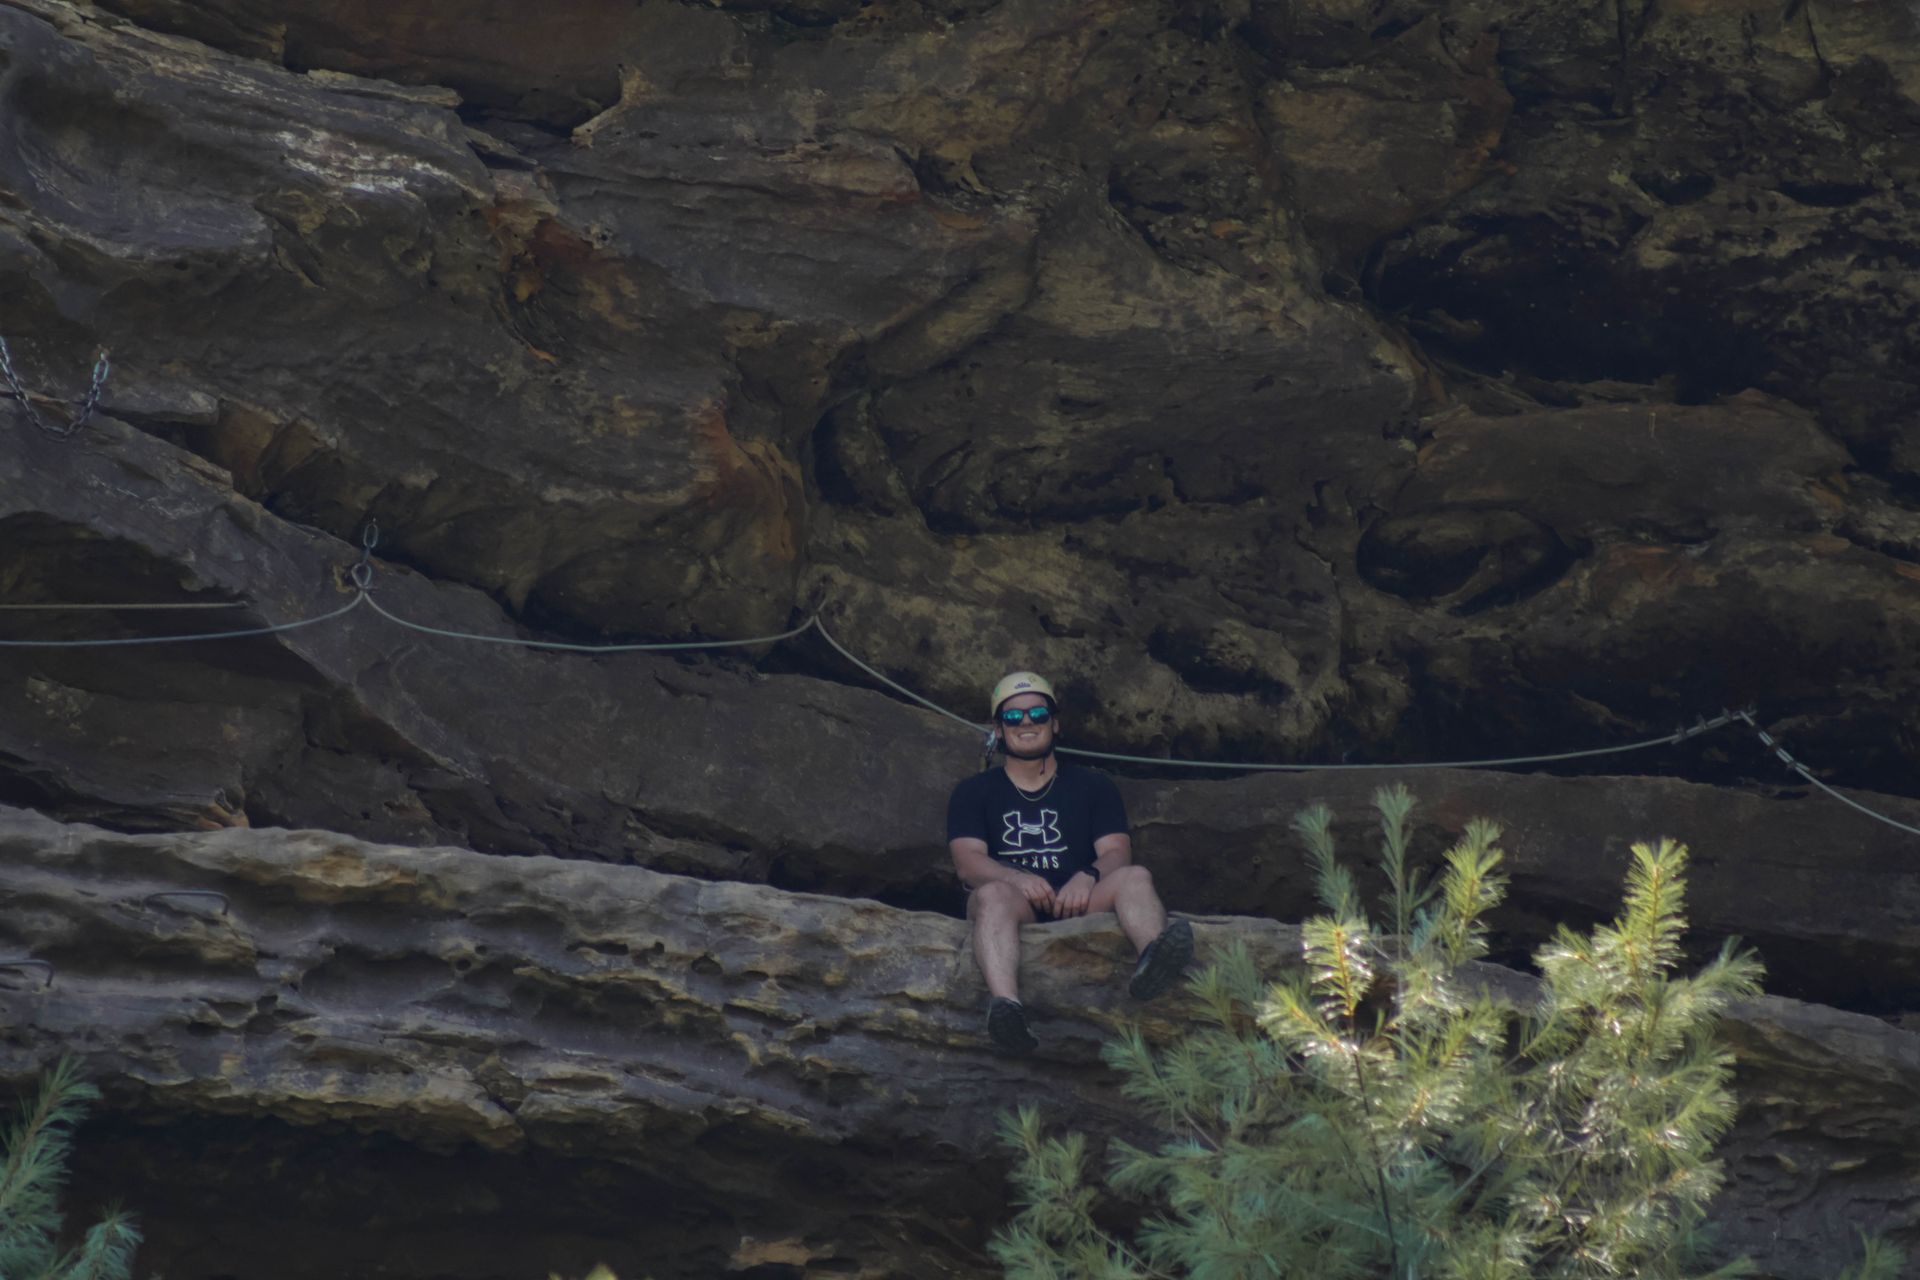
Most climbers spend 4–6 hours at our facility. That includes a 45-minute hands-on orientation followed by an unguided (but continuously supervised) climbing experience. The Via Ferrata, which was the
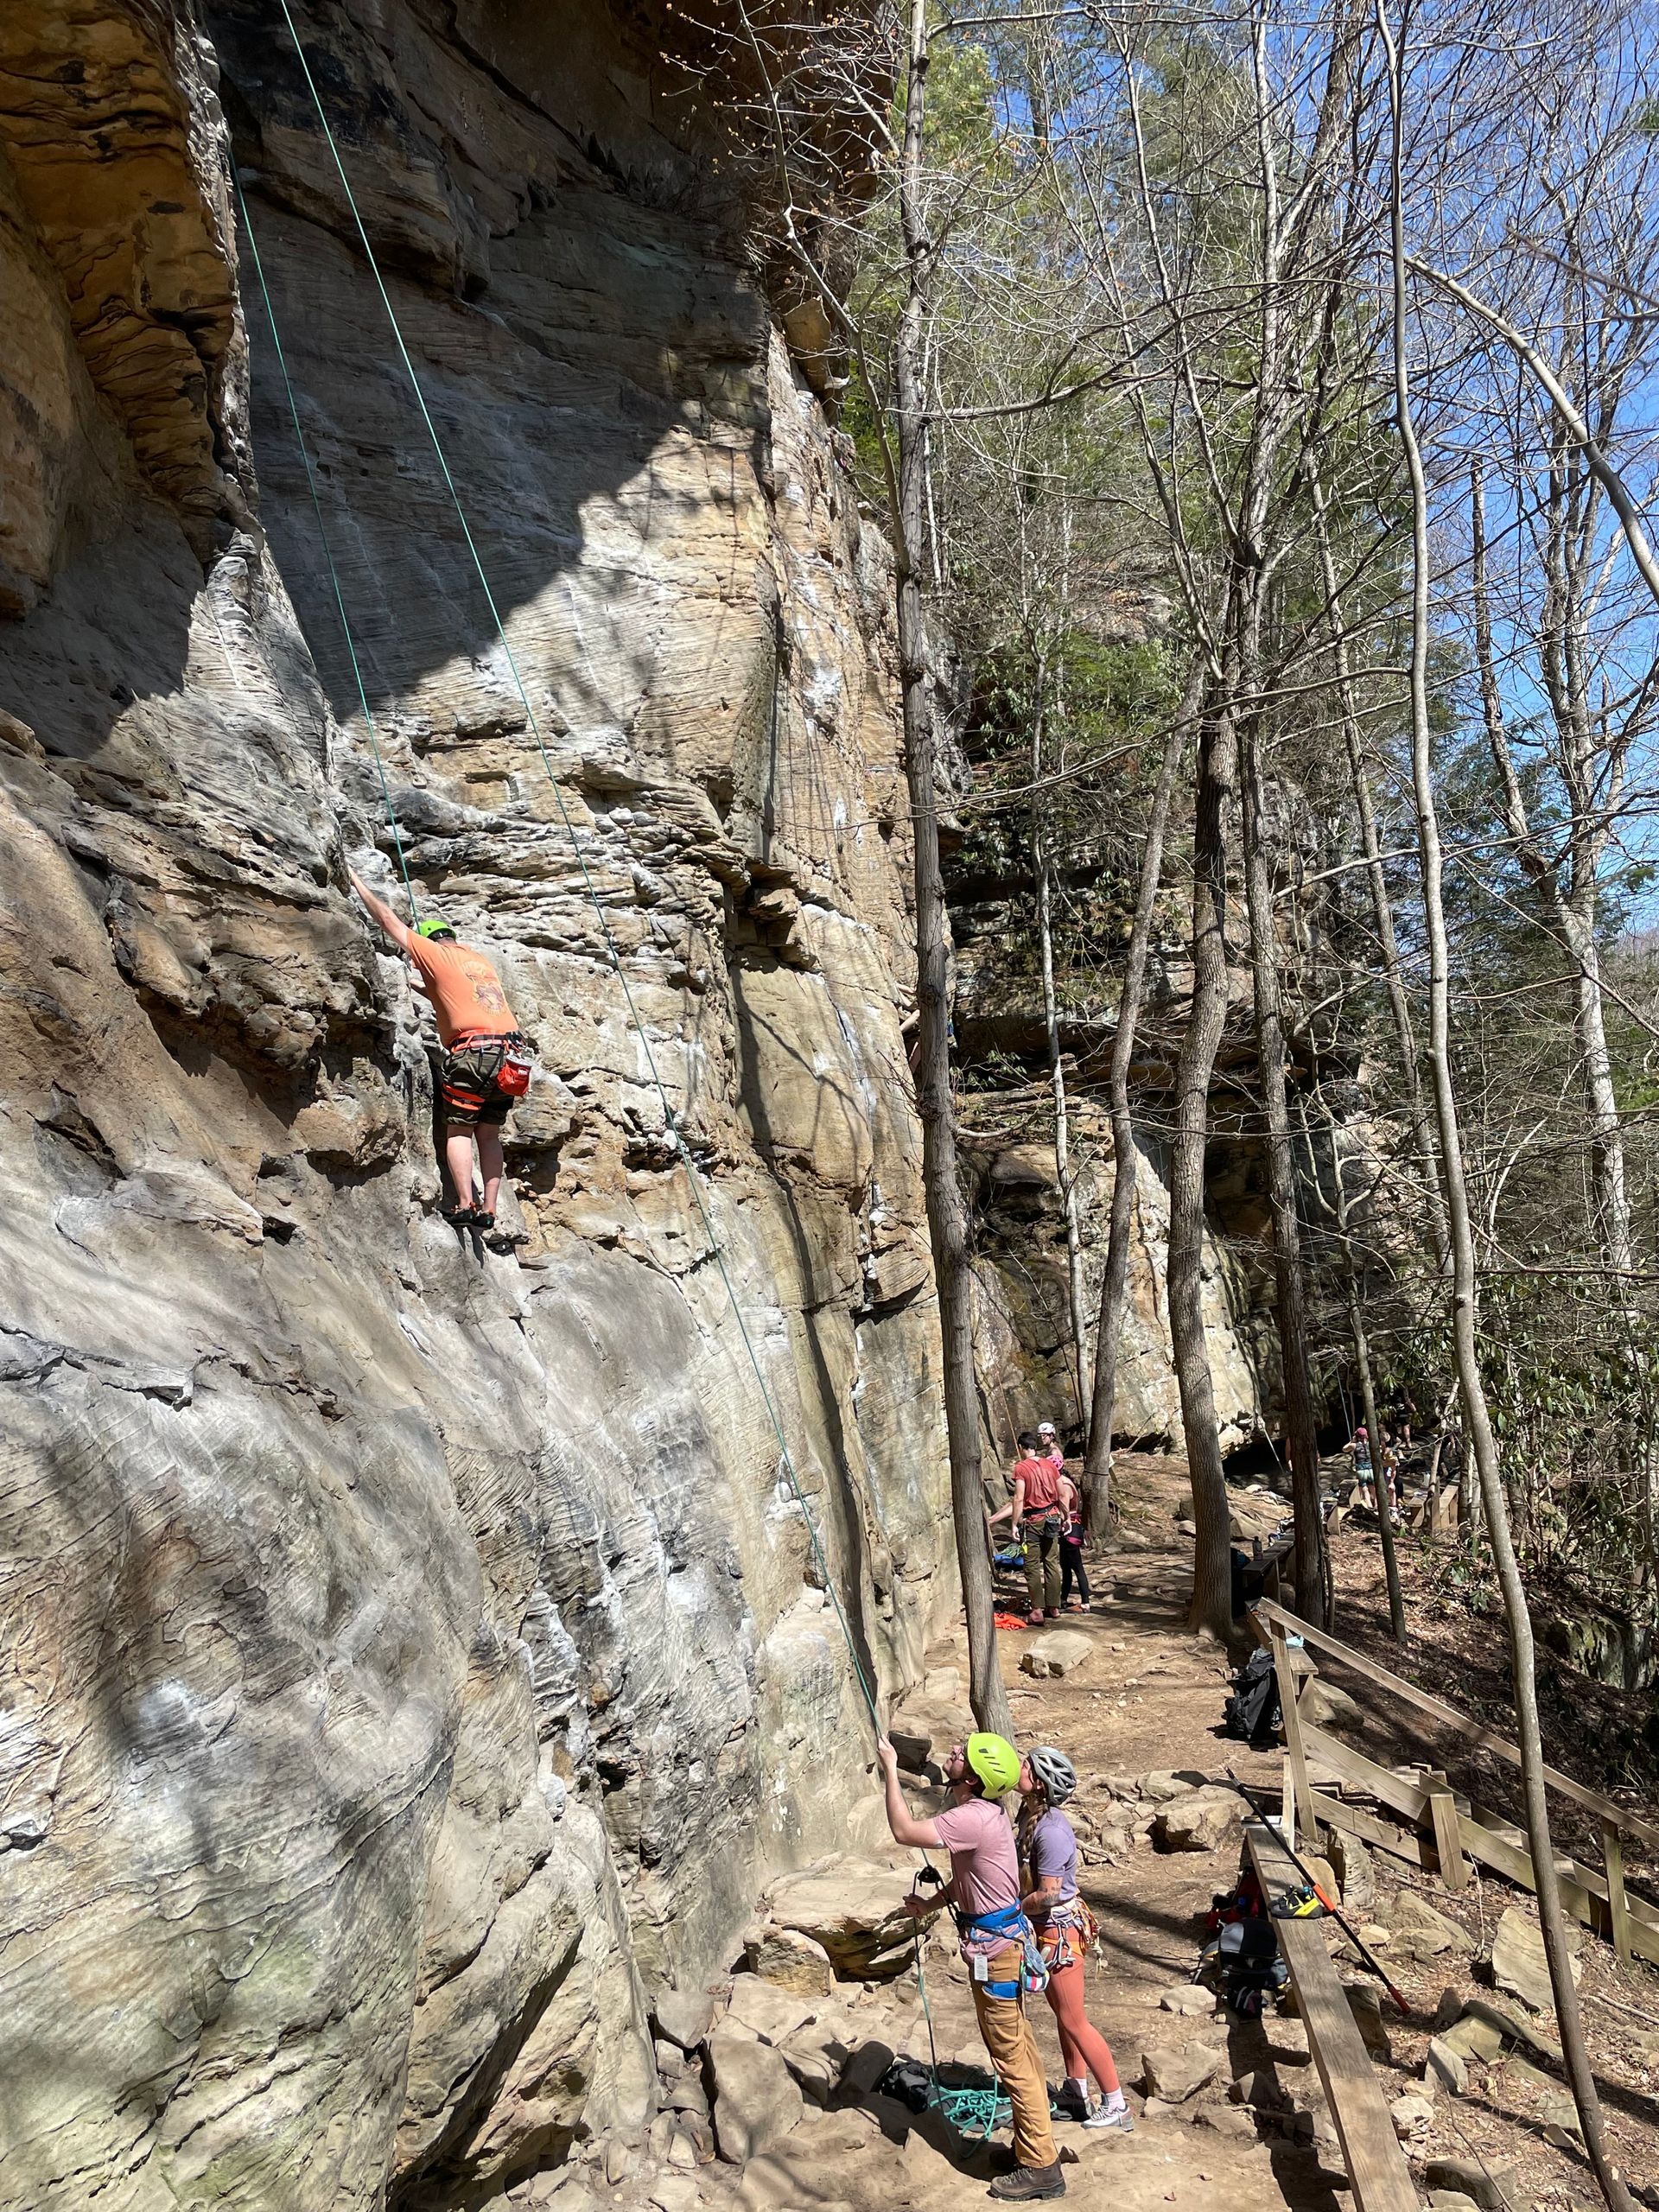
first in the United States, is a continuous course stretching 3,400 feet, and there are six exit points along the way. This means you can take breaks, skip sections, repeat your favorite parts, or exit early if needed. However, on your first visit, you must begin on sections 1, 2, or 3.
There are six total sections:
- Sections 1 & 2: Beginner
- Section 3: Intermediate
- Sections 4 & 5: Advanced
- Section 6: Expert (aka the Black Diamond!)
Let’s break down the difficulty of the most advanced parts—Section 4 and Section 6.
Section 4: The Longest and One of the Hardest
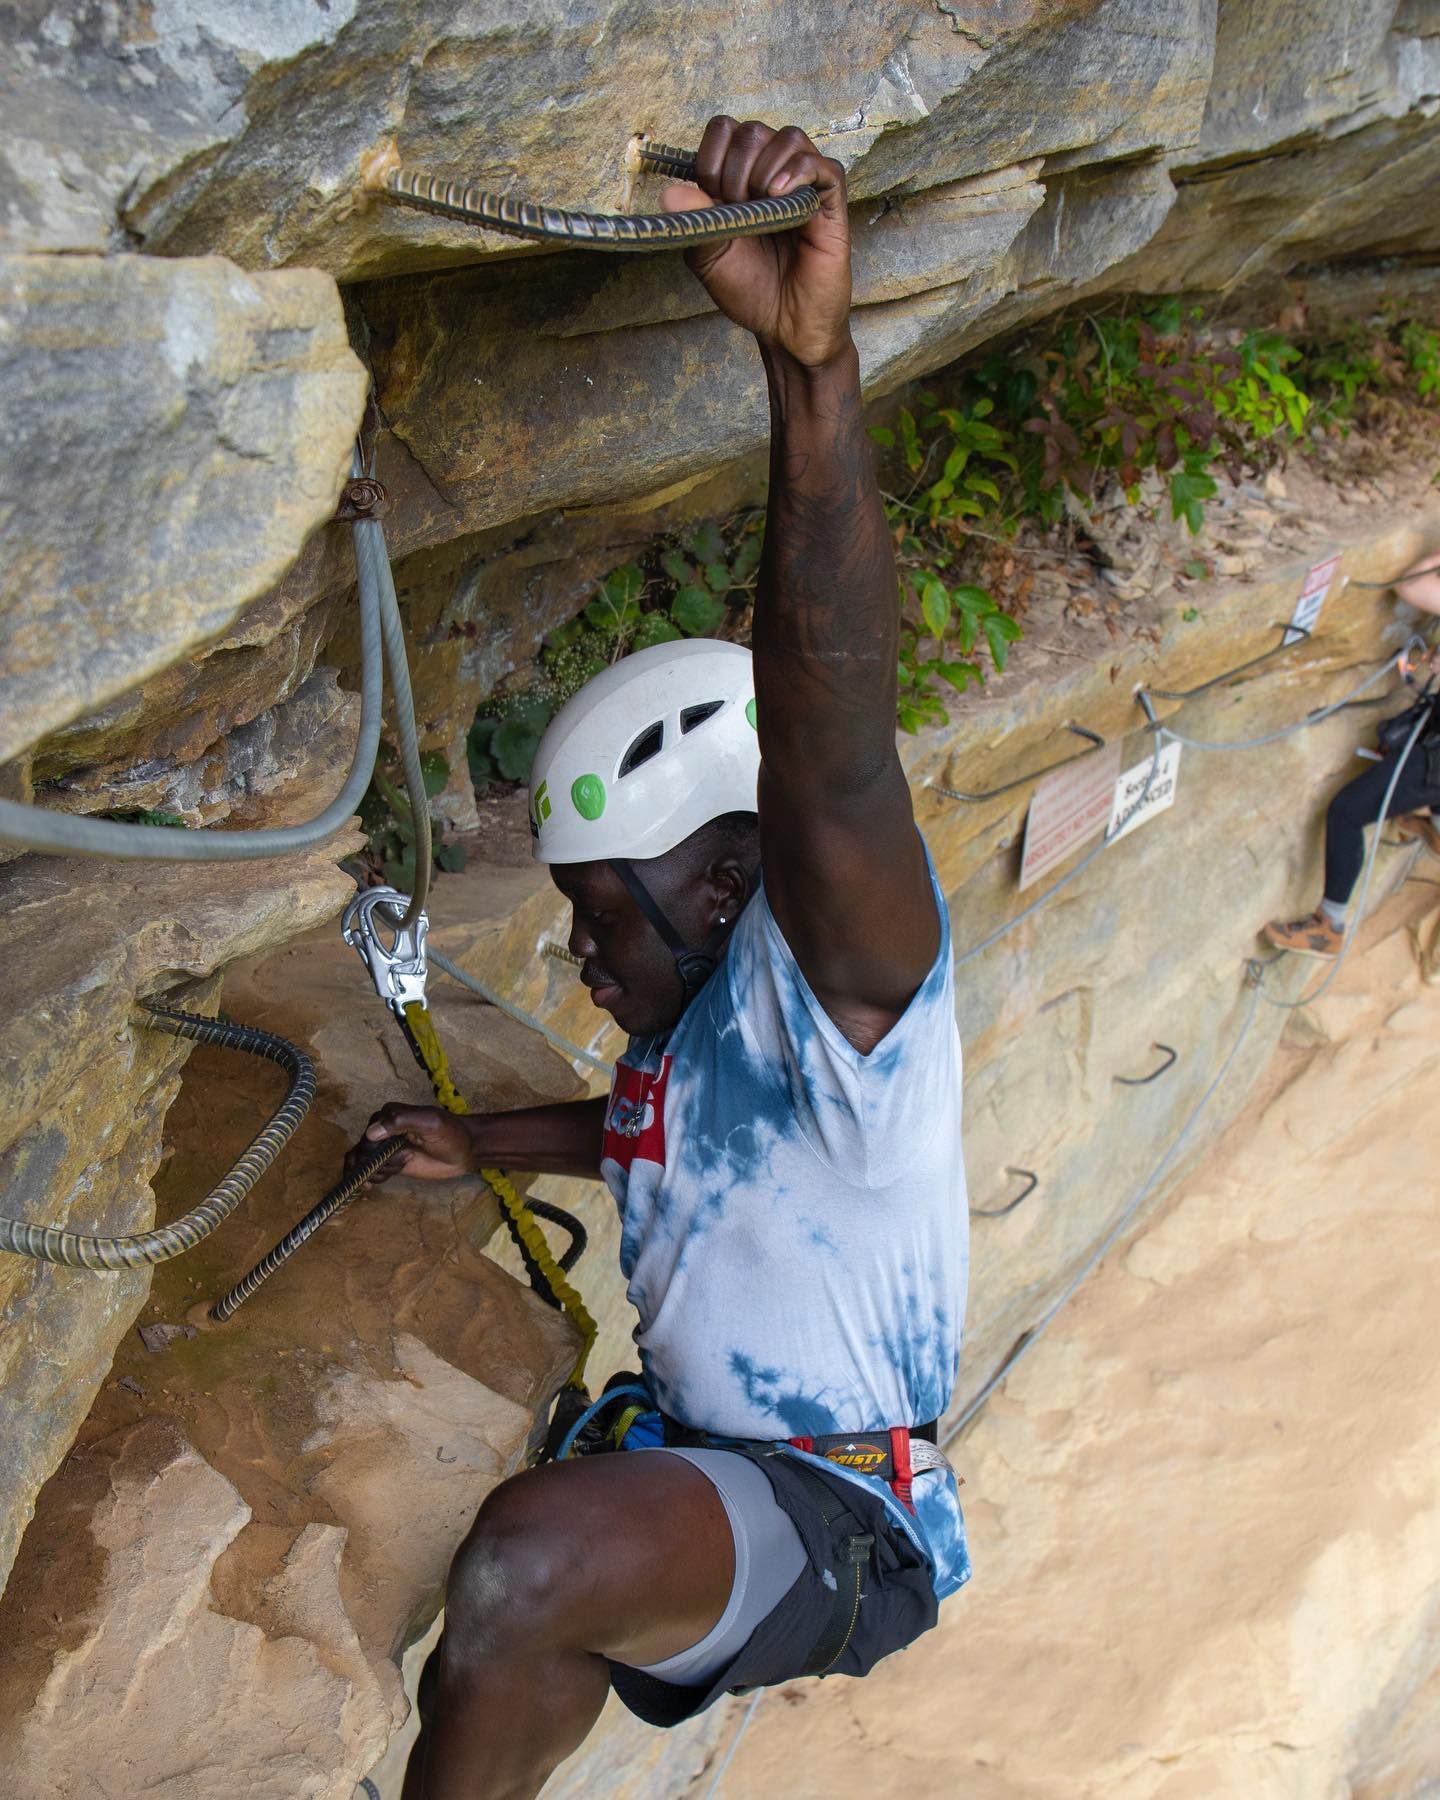
Section 4 is the first of the advanced routes, and climbers often notice the difficulty right away. It begins with a 30-foot overhanging climb that puts a demand on upper body strength and core stability. Here’s what makes this section stand out:
- The Start: A short overhang means your body leans back, placing more weight on your arms. Your legs are bent, and you’re climbing slightly up and sideways.
- Beta Tip: Move quickly through this portion. Grab, step, pull, and go! It's over in 30 feet, and your rest clip is always an option. The rest clip is a short attachment to your harness that allows you to sit in your harness so you can take a break.
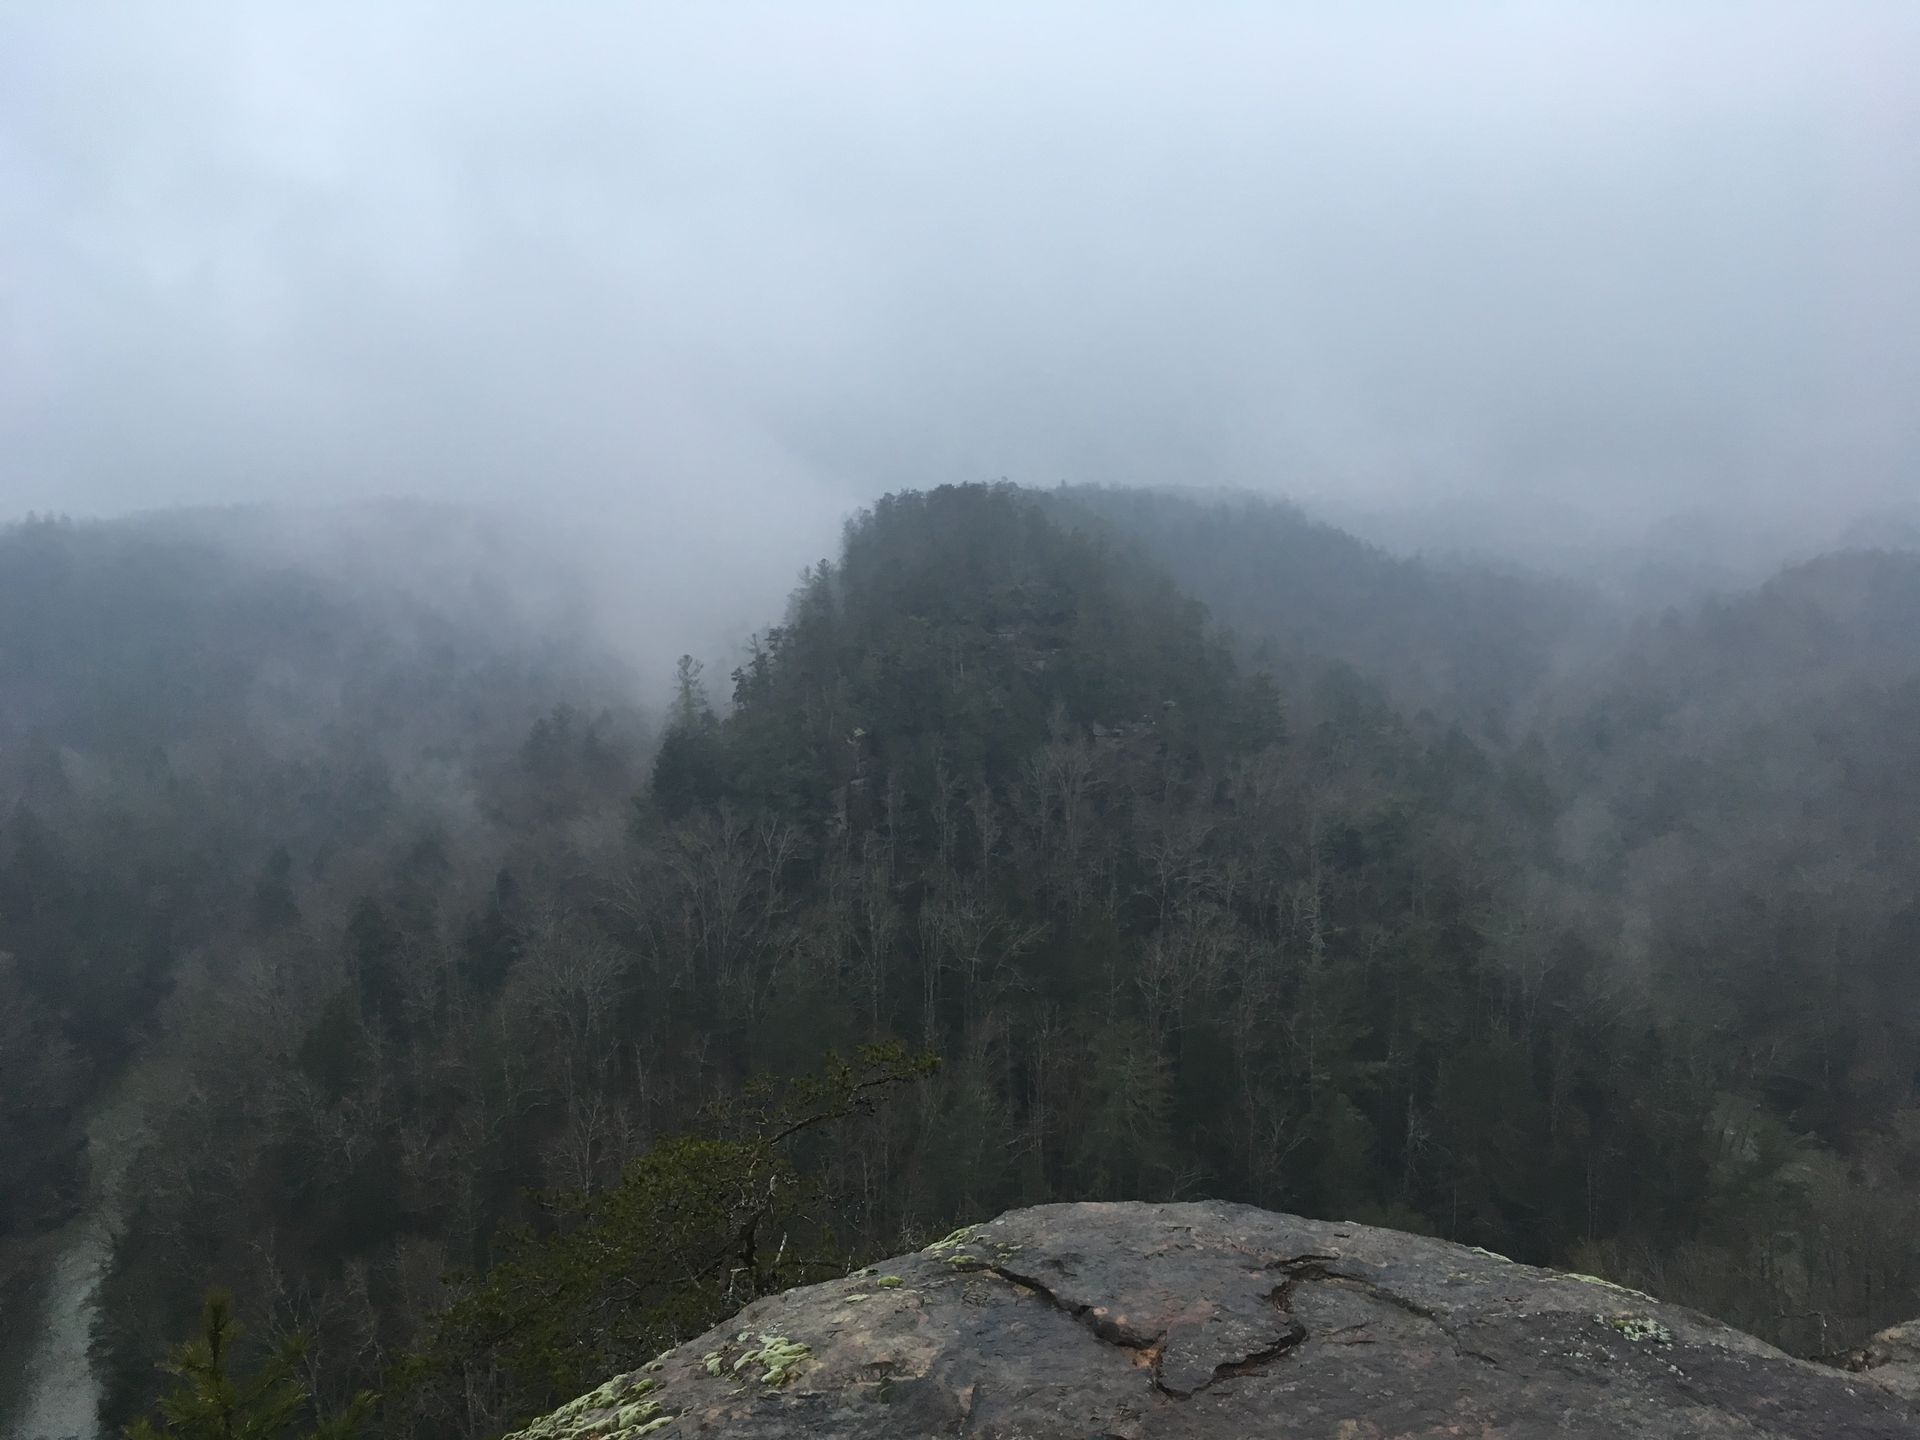
- Highest Point: This section reaches the highest point on the entire course—120 feet off the ground!
- Exit Considerations: The nearby exit features a wooden hanging ladder. It’s often busy due to climbers backing off early. Stay clipped in, go one at a time, and be courteous. There’s no passing on the course.
After the initial challenge, there are two more cruxes:
- The “Mental Crux”: An awkward-feeling part with fewer obvious handholds. Look for natural rock ledges or pull on the cable.
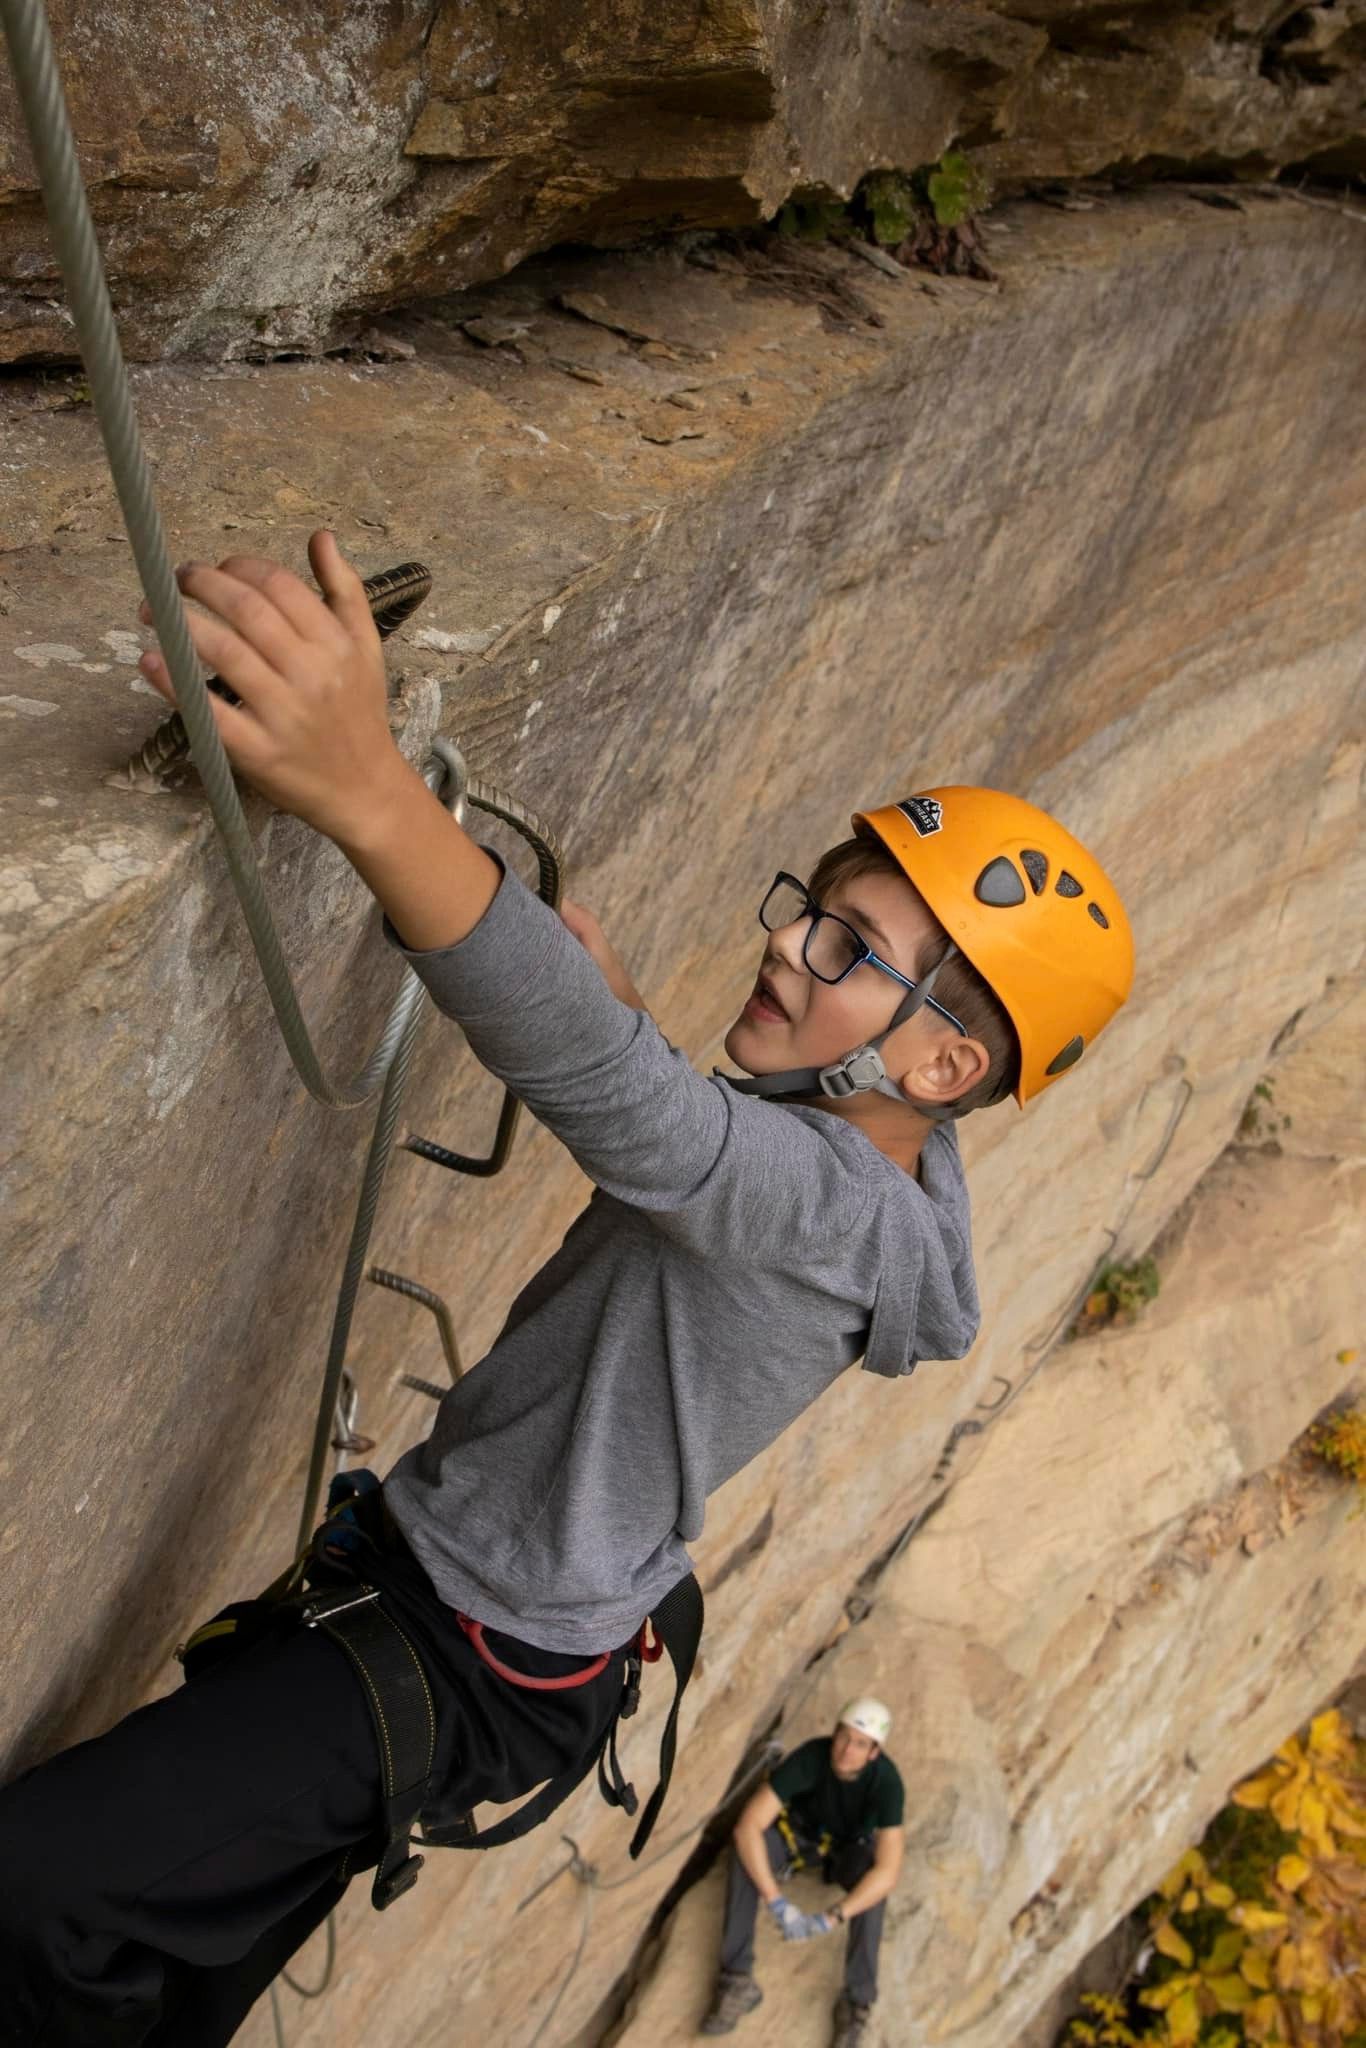
- The Vertical Climb: This portion looks intimidating but once you get started it climbs fluidly due to the many rebar rungs for your hands and feet. Shorter climbers (under 5') may find one move especially reachy.
- It is important to switch your clips as soon as you get to the next clip. If you don’t clip right away you run the risk of taking a longer fall.
- It is also important to tackle this vertical section one at a time. If the climber above you falls, you may be in the fall line.
- Final Push!
- Once you are through this vertical climb, you’re rewarded with gorgeous views on a rest ledge. This is actually the highest point on the whole course at 120 feet! Finishing this vertical climb puts you halfway through section 4 but don’t be too alarmed, it is an enjoyable climb over some good ledges and a gorgeous vista.
This section ends right before the suspension bridge so if you are up for a treat after completing section 4 you can enjoy the Indiana Jones style bridge! Remember there is no passing on our course, so if you decide to do the bridge but not the next section (section 5) then you will have to turn back across the bridge to the exit for section 4.
Thinking About Trying Section 4? Read This First
The most challenging part of Section 4 comes
right at the beginning. It starts with a short overhang that requires upper body and core strength—and that’s often the moment climbers decide whether they’re ready for the advanced terrain.
The good news? You're
right next to an exit point. This means you can attempt the start and, if it’s not feeling right, simply climb back a few steps and exit the course without committing to the full section.
Important Info About the Section 4 Exit:
- One-at-a-time ladder: This exit uses a wooden hanging ladder. Only one climber is allowed on it at a time.
- Stay clipped in: Always remain clipped into the safety cable—even when standing on the ledge. It might feel like solid ground, but you’re still 50 feet up!
- This exit can get busy: Many climbers attempt the start of Section 4 and choose to exit here, so it’s a common traffic point.
- No passing allowed: Our course does not allow passing, which is especially important near tight areas like this. Be courteous, communicate with others, and practice patience.
- Let others back off easily: It's best to try this section one climber at a time. This makes it easier for someone to retreat if needed without being held up by others behind them.
Bonus tip: Climbers can also back up on Section 3 if needed, but the main bailout zone for Section 4 is the exit ladder.
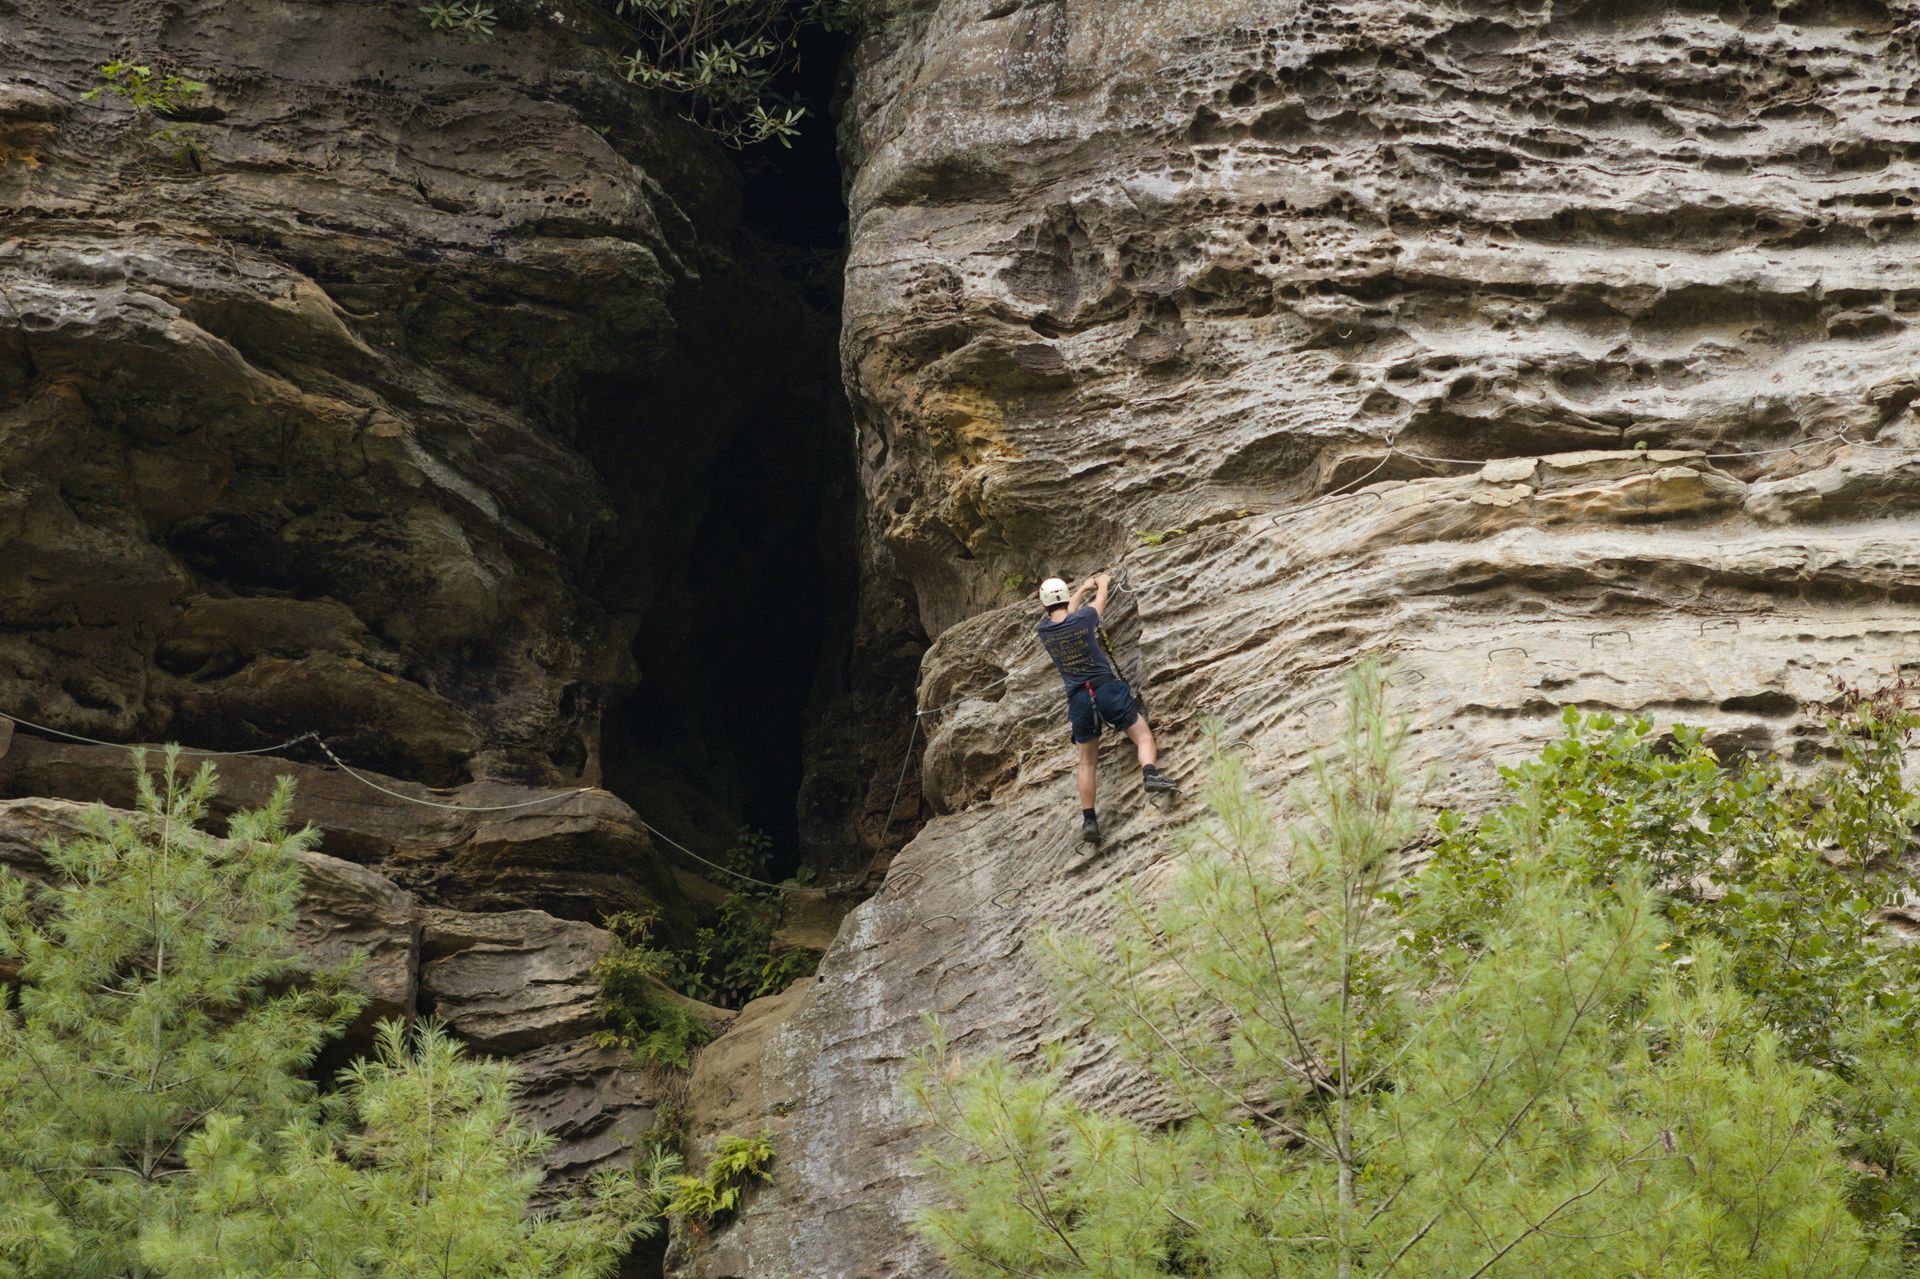
Section 6: The Black Diamond
Section 6 is our most physically demanding section. Think of it as shorter but more intense.
- Start: A tightrope walk across a 40-foot gap with two high cables for hands and one low cable for your feet. There’s a bypass if this isn’t your thing.
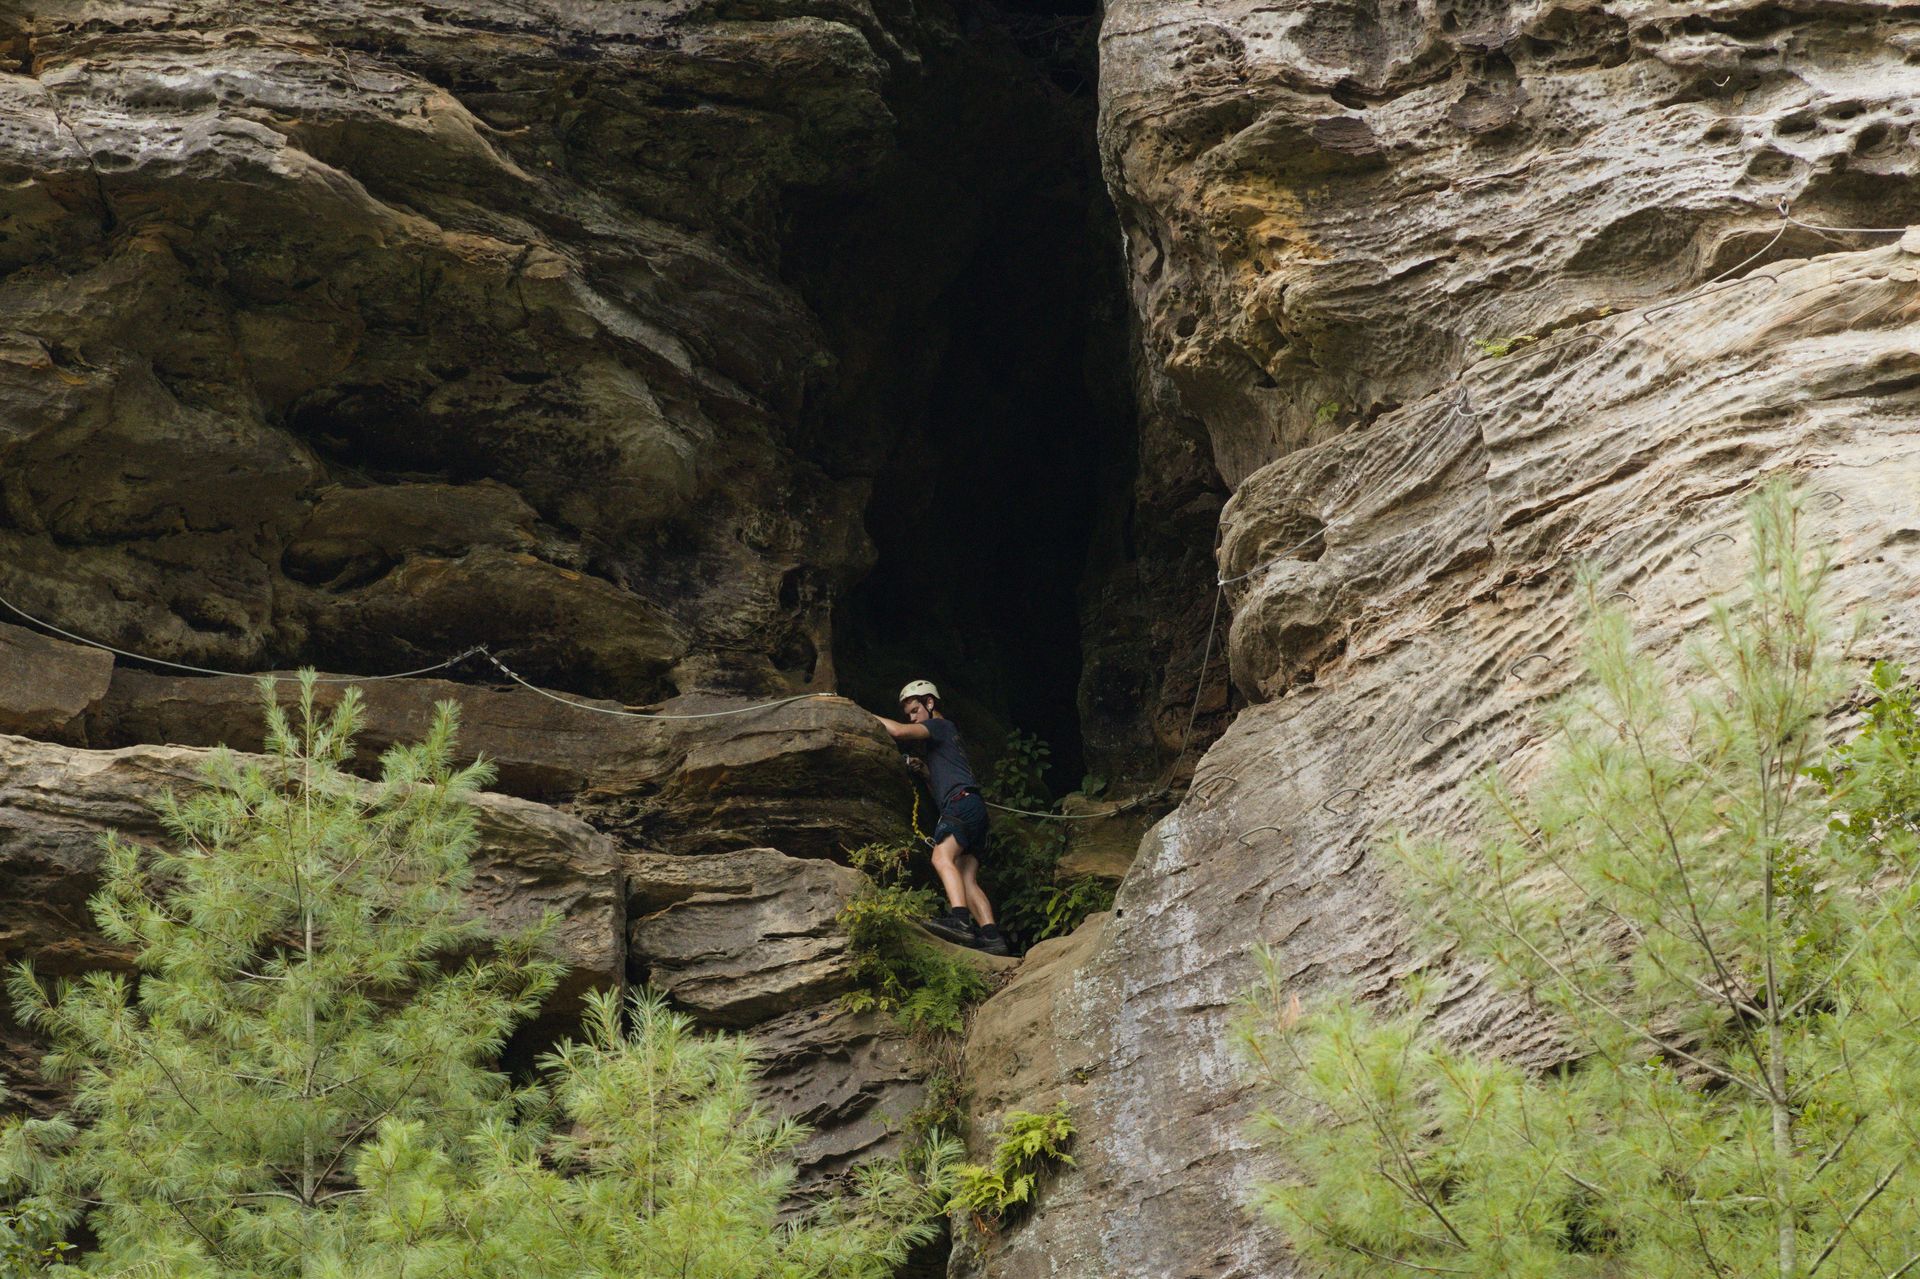
- Mid-section: Sparse rebar placements require you to use natural rock holds. But keep going, you will soon come to a small cave with a large rest ledge to take a break. Be warned though the climbing for the last two loops of cable before this rest cave is no joke! They pack a short punch and are a bit reachy.
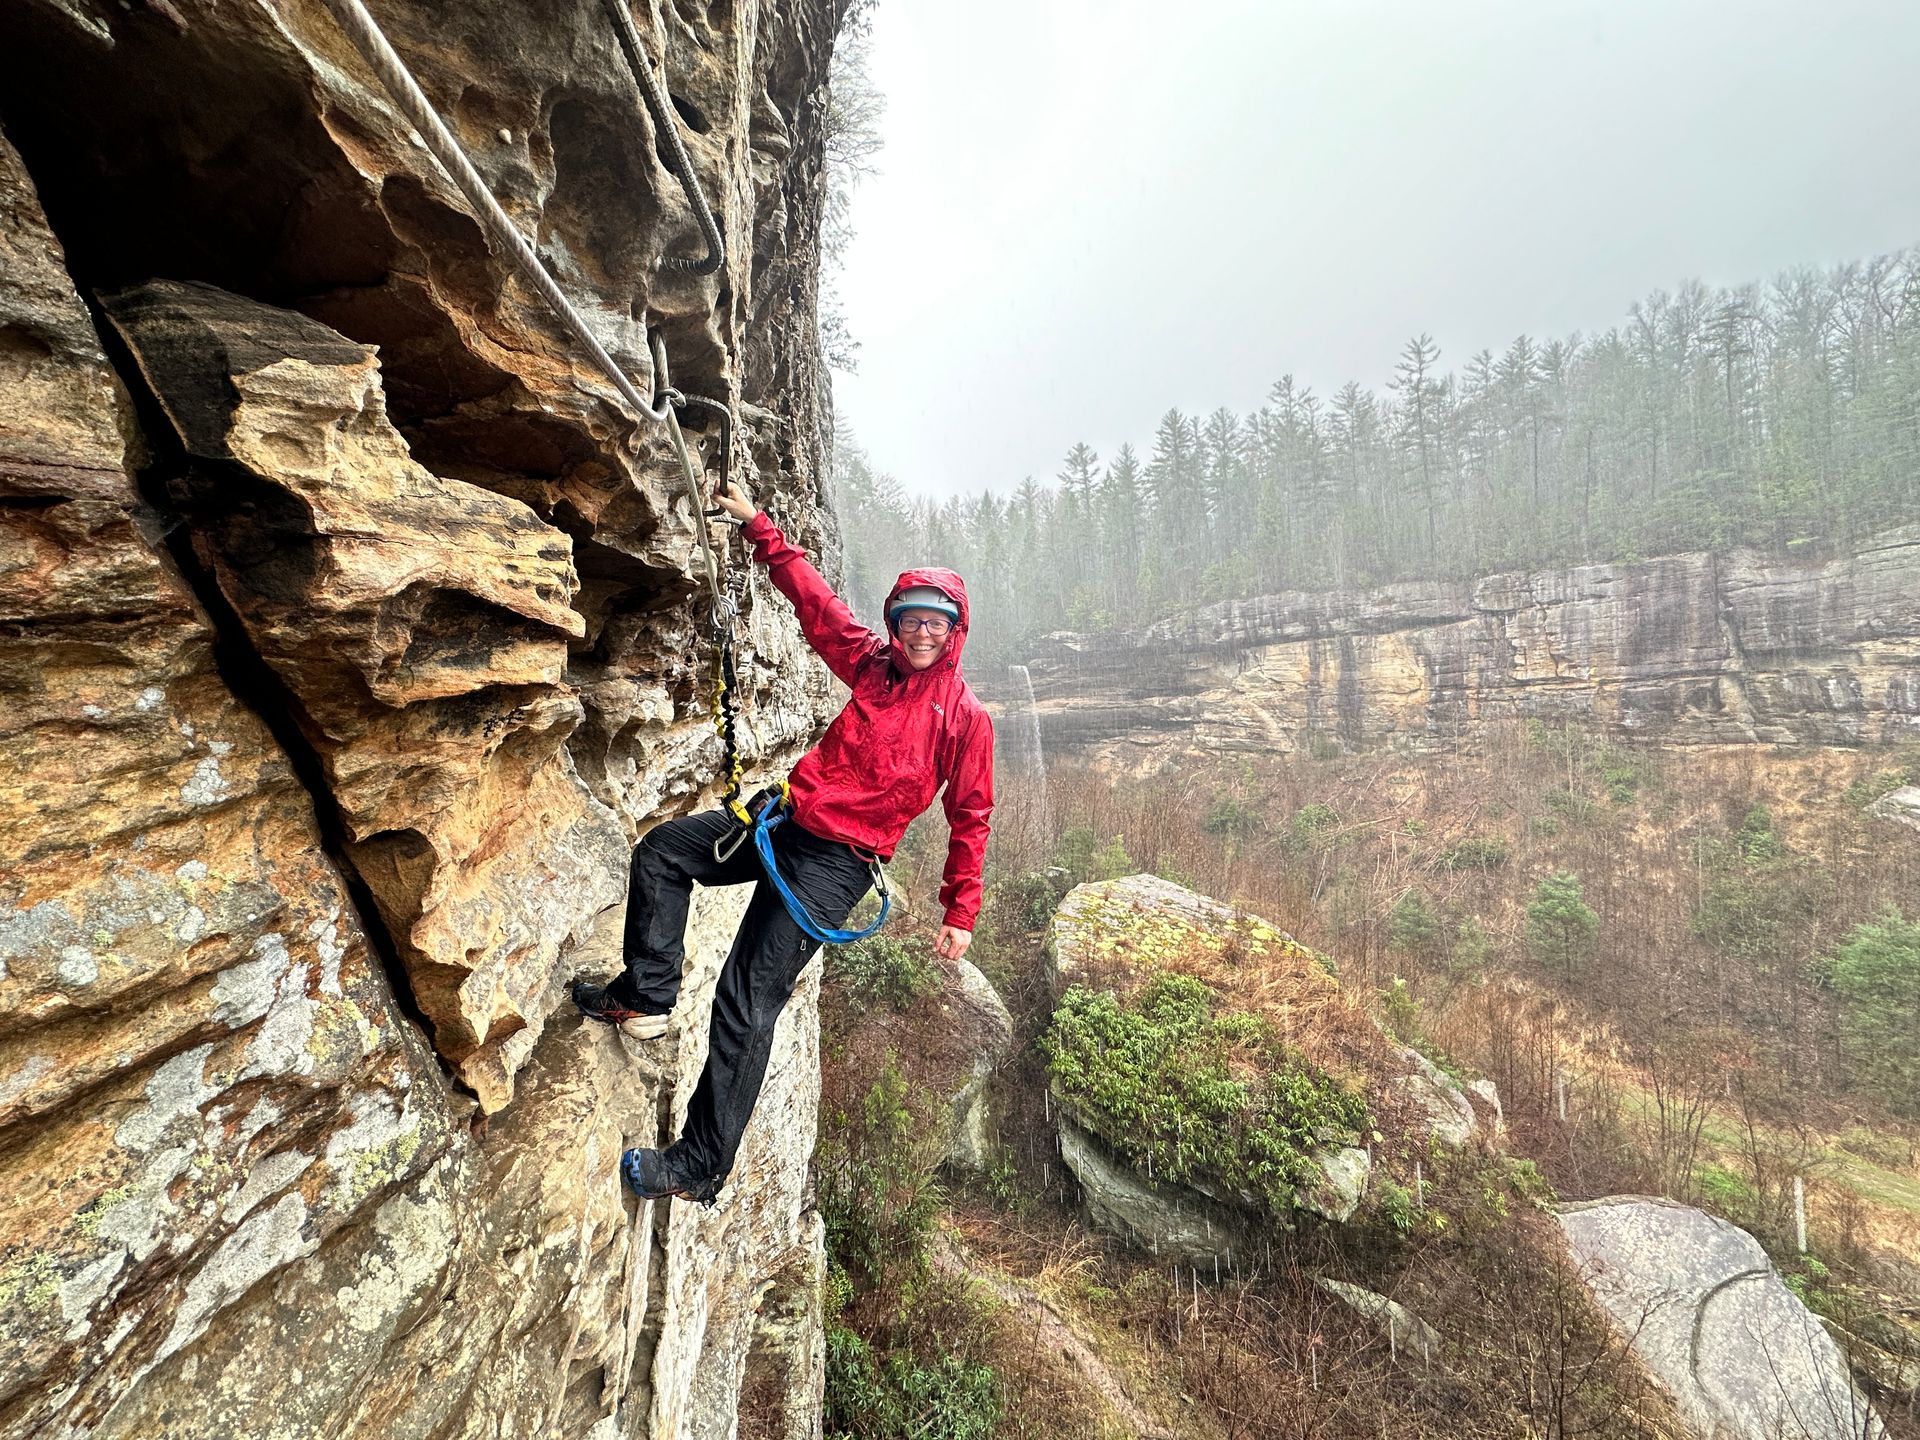
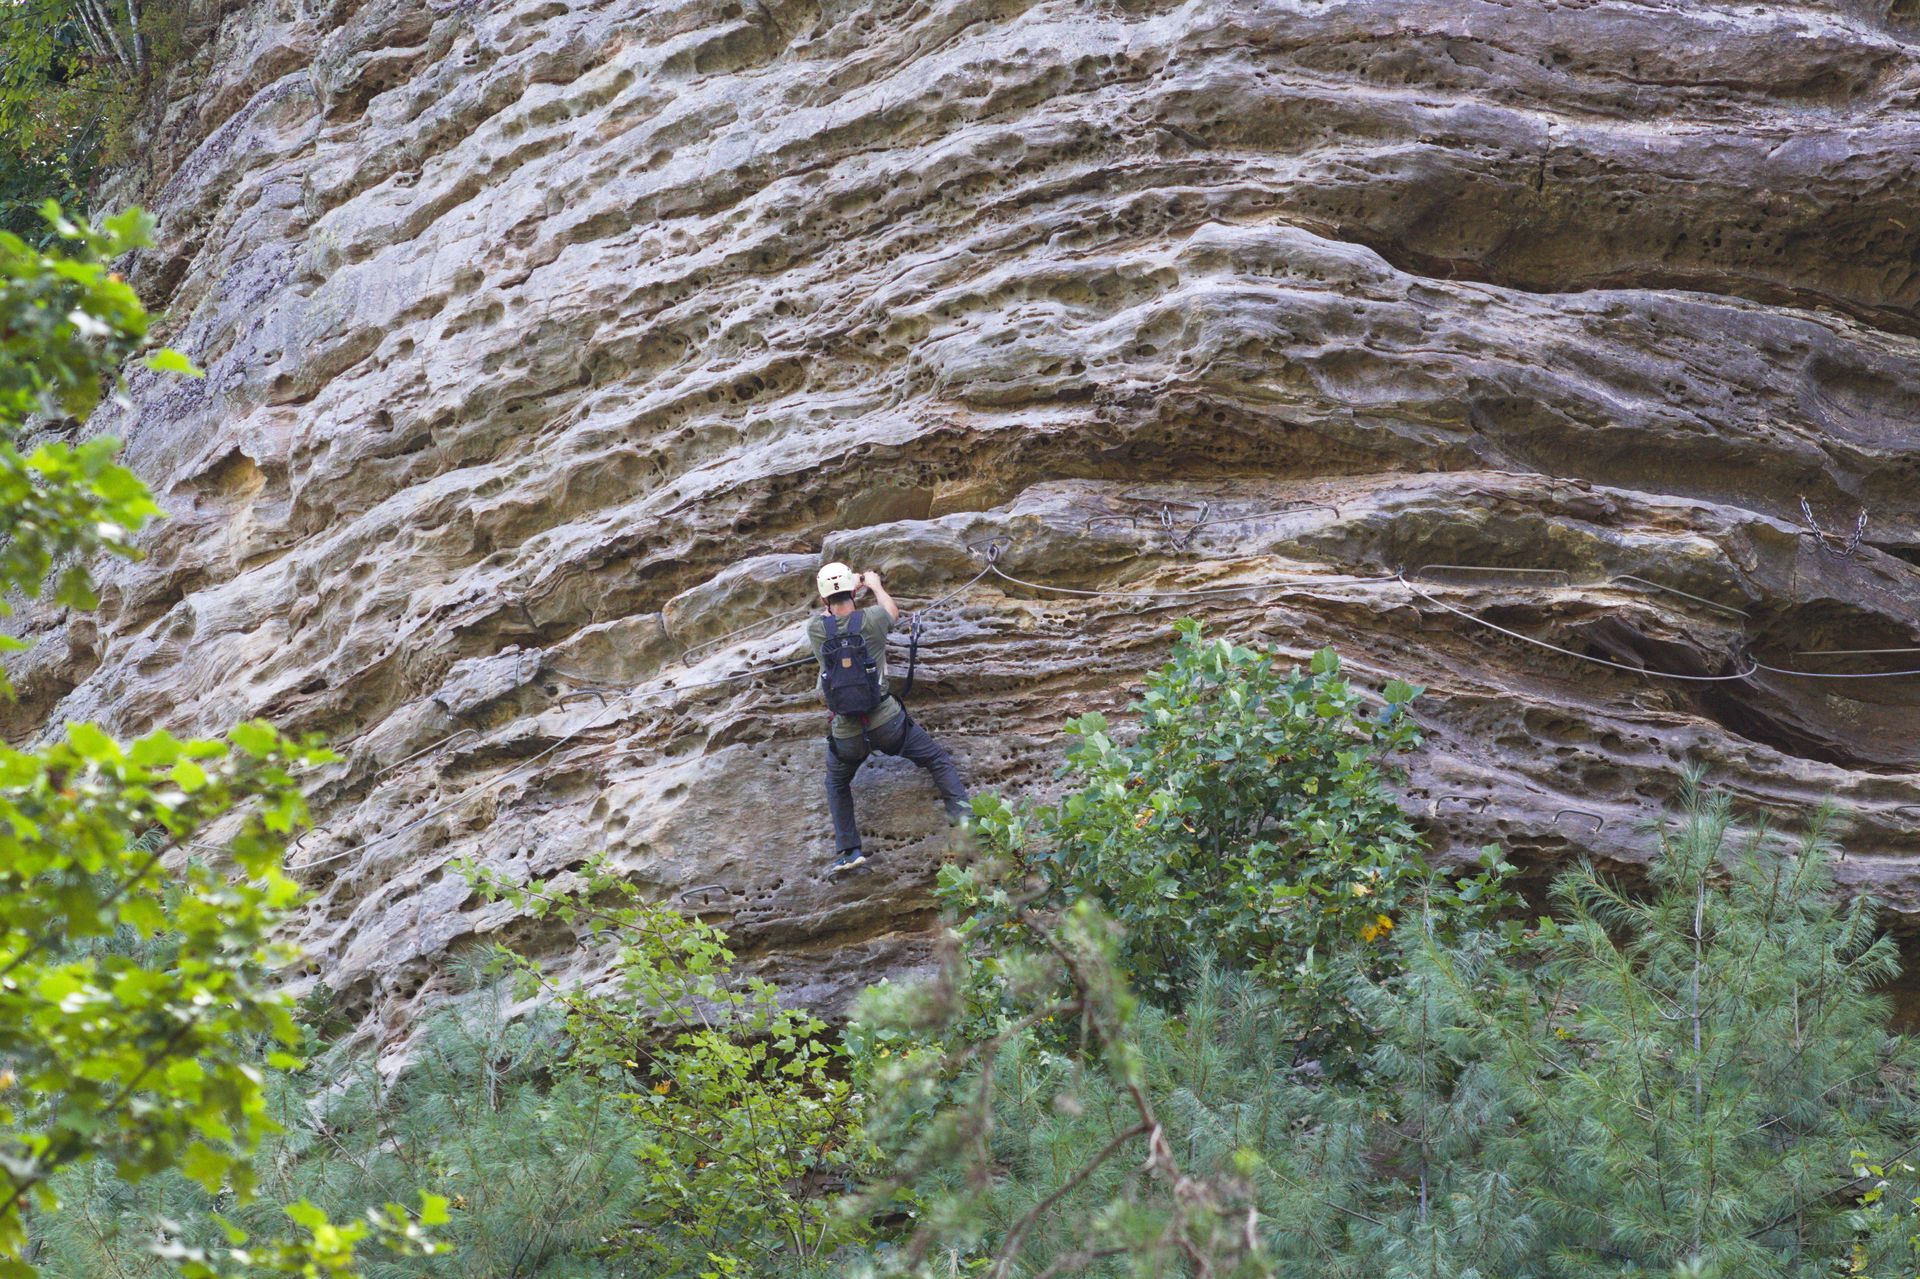
- Final Crux: A 30-foot overhanging horizontal traverse. Constant body tension and arm strength required. Keep reading for insights on this crux (the most challenging part of the climb)!
The Crux of Section 6
Once you’ve reached the ledge cave rest spot, take a breather—because the most demanding part of Section 6 is just ahead.
When you're ready and your arms feel recharged, it's time to go for it. As soon as you step off the ledge, you’ll immediately feel the airy exposure—exciting and a little intimidating. This next 30-foot traverse demands focus and upper-body strength.
You’ll be leaning back slightly through most of this section, with your weight pulling against the rock. While there are rebar rungs for both your hands and feet the entire way, the lean forces your arms to work harder. The trickiest part? Each time you reach a bolt along the cable, you’ll need to hold on with one hand while unclipping and reclipping with the other—so be ready to switch quickly and smoothly.
Pro Tips:
- Move steadily—don’t pause mid-crux.
- Use your rest clip early and often.
- After the overhang, you’ll round the cliff corner and descend to the trail.
This section is not recommended for climbers under 5 feet tall due to reachy moves.
Who Should Attempt the Advanced Sections?
- If
Section 4 felt tiring but doable,
Section 6 is within reach.
- If
Section 4 felt exhausting, consider returning another day for Section 6.
Ask our staff—we’ll be honest with feedback and help you stay within your limits.
Tips for Tackling the Tougher Sections
Take Breaks (Seriously)
Breaks make a big difference. Most climbers complete Sections 1–3, take a breather (20–45 minutes is ideal), and then decide whether to push on. Don’t wait so long that your muscles cool down, but do give yourself time to reset.
Pack Smart
If you're planning to stay on the wall for longer periods, bring a small, lightweight backpack or fanny pack with snacks, water, and maybe some electrolytes. Keep it light—heavy packs will weigh you down, especially on steep or overhanging sections.
Breathe Deep & Stay Calm
The more relaxed you are, the better you'll climb. Deep breaths can help you stay focused and conserve energy. Efficiency is everything on the harder sections.
Choose Your Path Wisely
- New to advanced terrain? Try Section 5 first—it’s short, advanced, and includes access to the suspension bridge and (optionally) the tightrope walk.
- Return visit? Start with Section 3 to warm up, then go straight into Section 4 for a full challenge.
- Testing your limits? If you complete Section 4 and feel strong, you’ll likely be ready for Section 6. If it left you completely gassed, save Section 6 for another day.
Pro tip: Ask about our
consecutive day passes. If you book the next day and we have space, we’ll often get you in at a very low rate.
Climb With or Without a Buddy
Doing hard sections with a friend can be motivating and fun. You can support and encourage each other. That said, if you’re someone who gets anxious with an audience, it’s okay to go solo. Just be aware: ages 10–14 must be climbing with an adult.
Training & Prep
Want to prepare ahead of time? The best thing you can do is
climb more! Indoor climbing gyms are a great way to build strength and confidence. If that’s not an option, focus on bodyweight exercises like push-ups, pull-ups, and core work. A strong core goes a long way in helping you move efficiently and powerfully on the wall.
Final Encouragement
You’re stronger than you think—and we’re here to help. Whether you’re chasing the thrill of the Black Diamond or just testing the waters of the advanced climbs, you’re making progress every step of the way.
Let us know your goals. We’re honored to be part of your climbing story.